Most people begin with the wrong assumption. They treat anodized aluminum like bare aluminum and reach for a metal polish right away. That is where damage often starts. Anodizing is not just a coating you can casually buff through. It is a controlled oxide layer that is harder, more durable, and about a thousand times thicker than aluminum's natural surface oxide, as outlined in AAF care guidance. In practical terms, cleaning removes dirt and residue, restoring improves the appearance of the existing finish, polishing cuts into metal or oxidation, and refinishing replaces a worn or damaged surface. If you are researching how to polish anodized aluminum, this distinction matters more than any product label.
With bare aluminum, abrasive polish can remove oxidation and increase shine. With intact anodized surfaces, especially dyed or colored finishes, that same approach can thin the finish, alter the sheen, or cause uneven color. The Flitz guide also notes that anodized aluminum is not a good candidate for mirror polishing. That is why polishing anodized aluminum should be the exception, not the default.
Preserve the anodized layer if it is still intact. Start with the least aggressive method and test a small hidden area first.
Look at the surface in bright light and judge its condition before choosing a method. Many people searching how to clean anodized aluminum are dealing with grime, soap film, or hard-water residue rather than finish failure. If you searched how to polish anodised aluminium, the real first step is diagnosis.
Cleaning can brighten color and remove false dullness. Gentle restoration may reduce chalkiness and bring back some gloss. Traditional metal polishing usually will not create a mirror look on intact anodizing. Can you polish aluminum? Yes, but bare aluminum and anodized aluminum are not the same job. If the surface is already pitted, deeply scratched, or worn through, results may stay uneven until the part is refinished or replaced. That is why your first decision should be about surface condition, because the safest supplies and the hidden-spot test both depend on it.
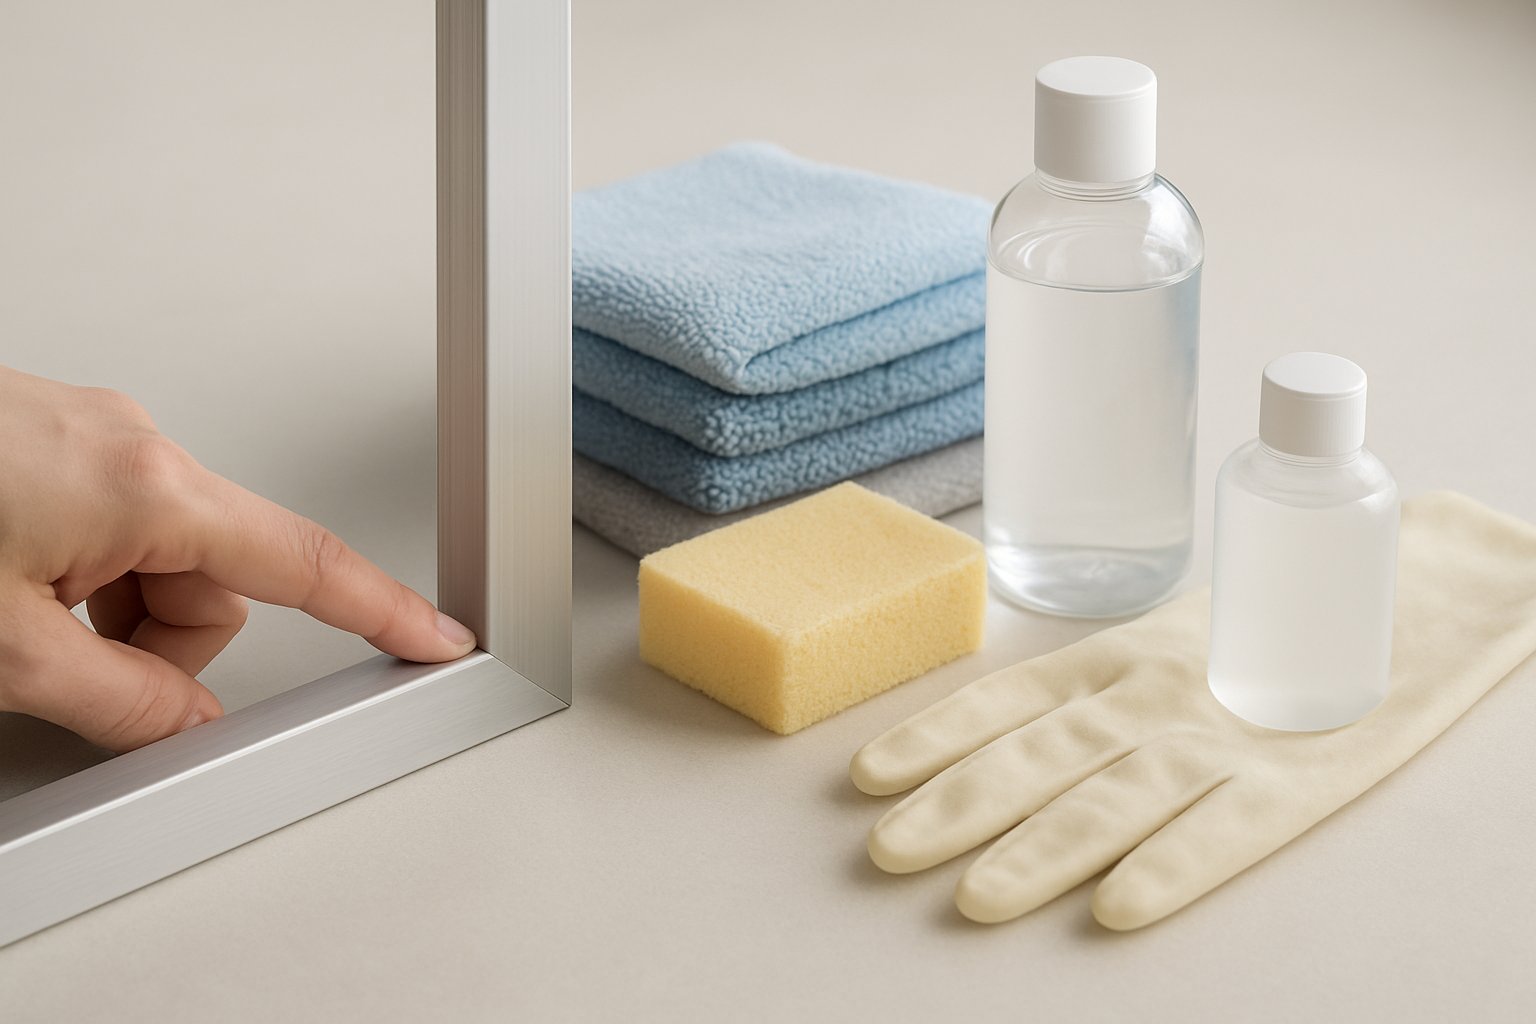
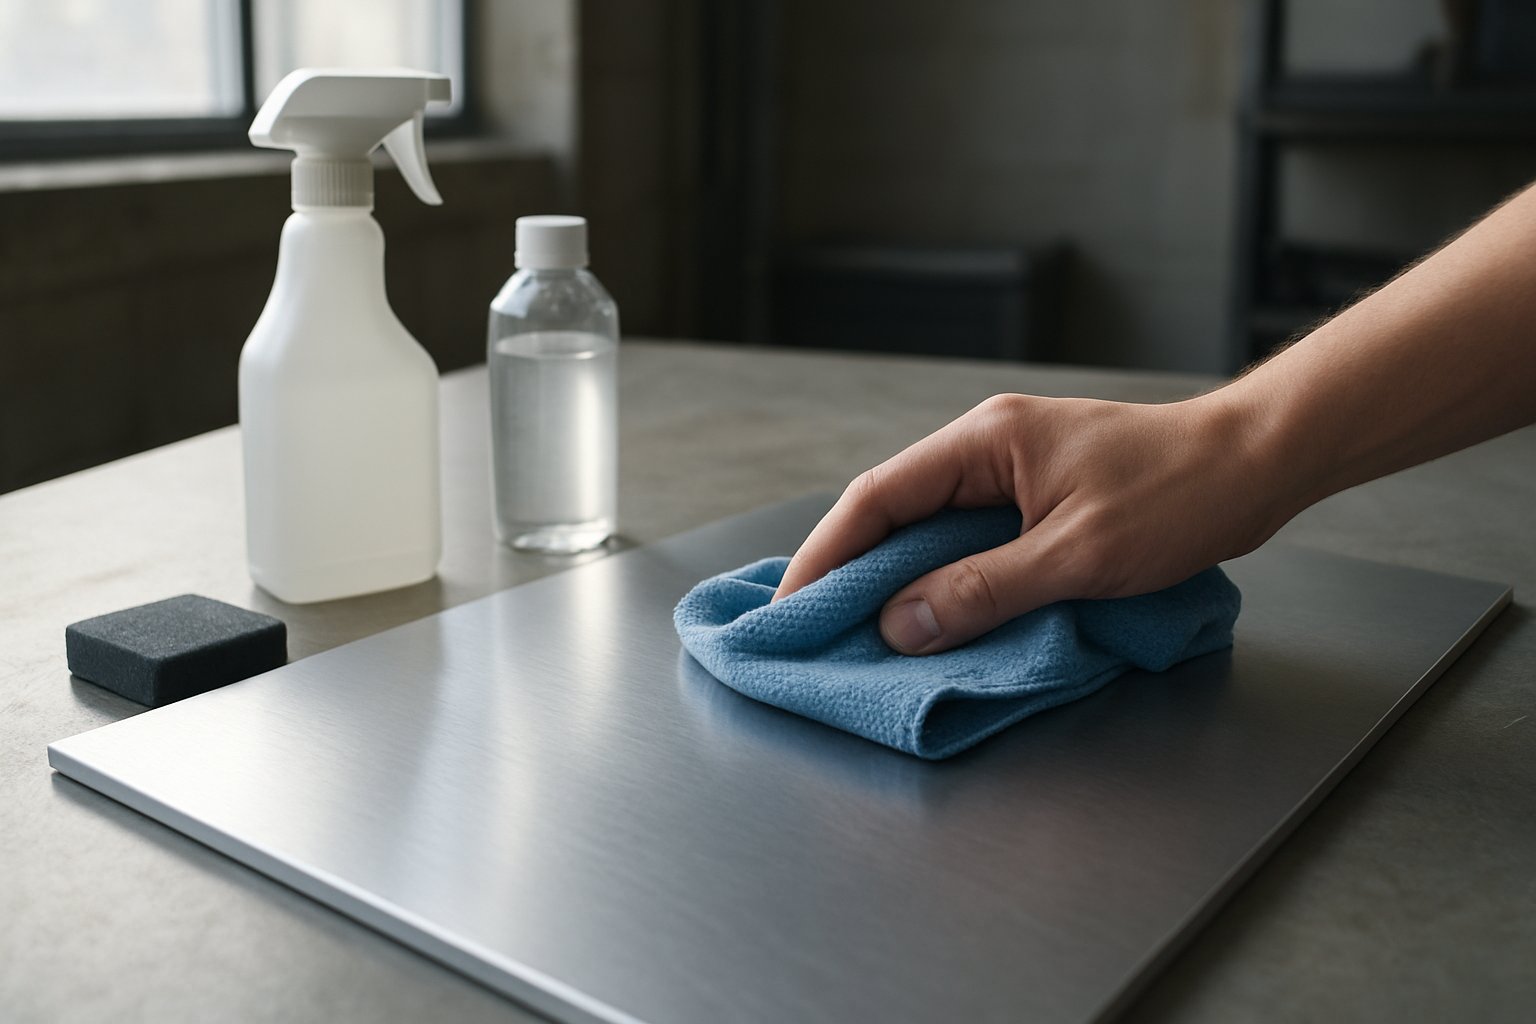
The condition check matters because the safest method depends on the finish still being intact. For most surfaces, the first goal is simple: clean anodized aluminum without cutting into the protective layer. Guidance from Linetec and CRC Surface Technologies points to a conservative starter kit: mild soap, clean water, soft microfiber cloths, a non-abrasive sponge, and a pH-neutral cleaner if the manufacturer approves it. Gloves are also helpful, especially after cleaning, because skin oils can mark the surface again. Where spotting is common, a final wipe with distilled water is a sensible extra step.
| Safe to Use | Avoid on Intact Anodizing |
|---|---|
| Mild soap or detergent diluted with water | Strong alkaline cleaners |
| pH-neutral cleaner, ideally in the mild range if approved | Strong acidic cleaners |
| Soft microfiber or lint-free cloths | Steel wool, sandpaper, or emery paper |
| Non-scratch sponge or soft nylon brush for seams and corners | Aggressive abrasive pads or excessive rubbing |
| Clean water, plus distilled water for final wiping if needed | Bare-metal compounds sold as aluminum polish |
| Gloves for handling freshly cleaned parts | Unapproved solvent products |
If you are wondering what is a good aluminum polish, the honest answer for intact anodized finishes is usually none at this stage. Most products marketed as the best aluminium polish or an anodized aluminum polish are made for bare metal. On sealed anodizing, they can create uneven sheen, color shift, or fine scratching. Even a surface that looks dull may only be carrying dirt, soap film, or mineral residue, so polish should not be your starting assumption.
This test is worth the extra minute because some problems only show after the surface dries. And once the supplies are confirmed safe, technique becomes the real difference-maker, especially during washing, rinsing, and drying.
A surprising amount of anodized aluminum only looks worn because it is carrying dust, soap film, oily residue, or mineral spotting. Care guidance from Andersen, CRC Surface Technologies, and Altal all point to the same basic workflow: remove loose grit first, wash gently, rinse thoroughly, and dry completely before deciding the finish is truly dull. If you are wondering how do you clean anodized aluminum, this is the part that often makes the biggest visual difference.
This is where many people stop too soon. Leftover detergent, loosened grime, and hard-water minerals can create a cloudy cast that looks like finish failure. That is one reason people searching how to clean and polish aluminum sometimes find that cleaning alone solves the problem. On anodized surfaces, good rinsing is part of the restoration process because residue can fake dullness.
Drying matters as much as washing. A wet surface can hide residue, and air-drying can leave water spots that mimic oxidation or fading.
Blot first, then wipe lightly until the surface is fully dry. Check corners, fasteners, and overlapping joints where moisture tends to linger. Inspect the finish in bright, indirect light. If the color looks clearer and the sheen is more even, you may not need anything beyond routine care. If it is clean, dry, and still uniformly dull, the question shifts from how do you clean and polish aluminum to how gently you can restore the existing anodized layer without harming it.
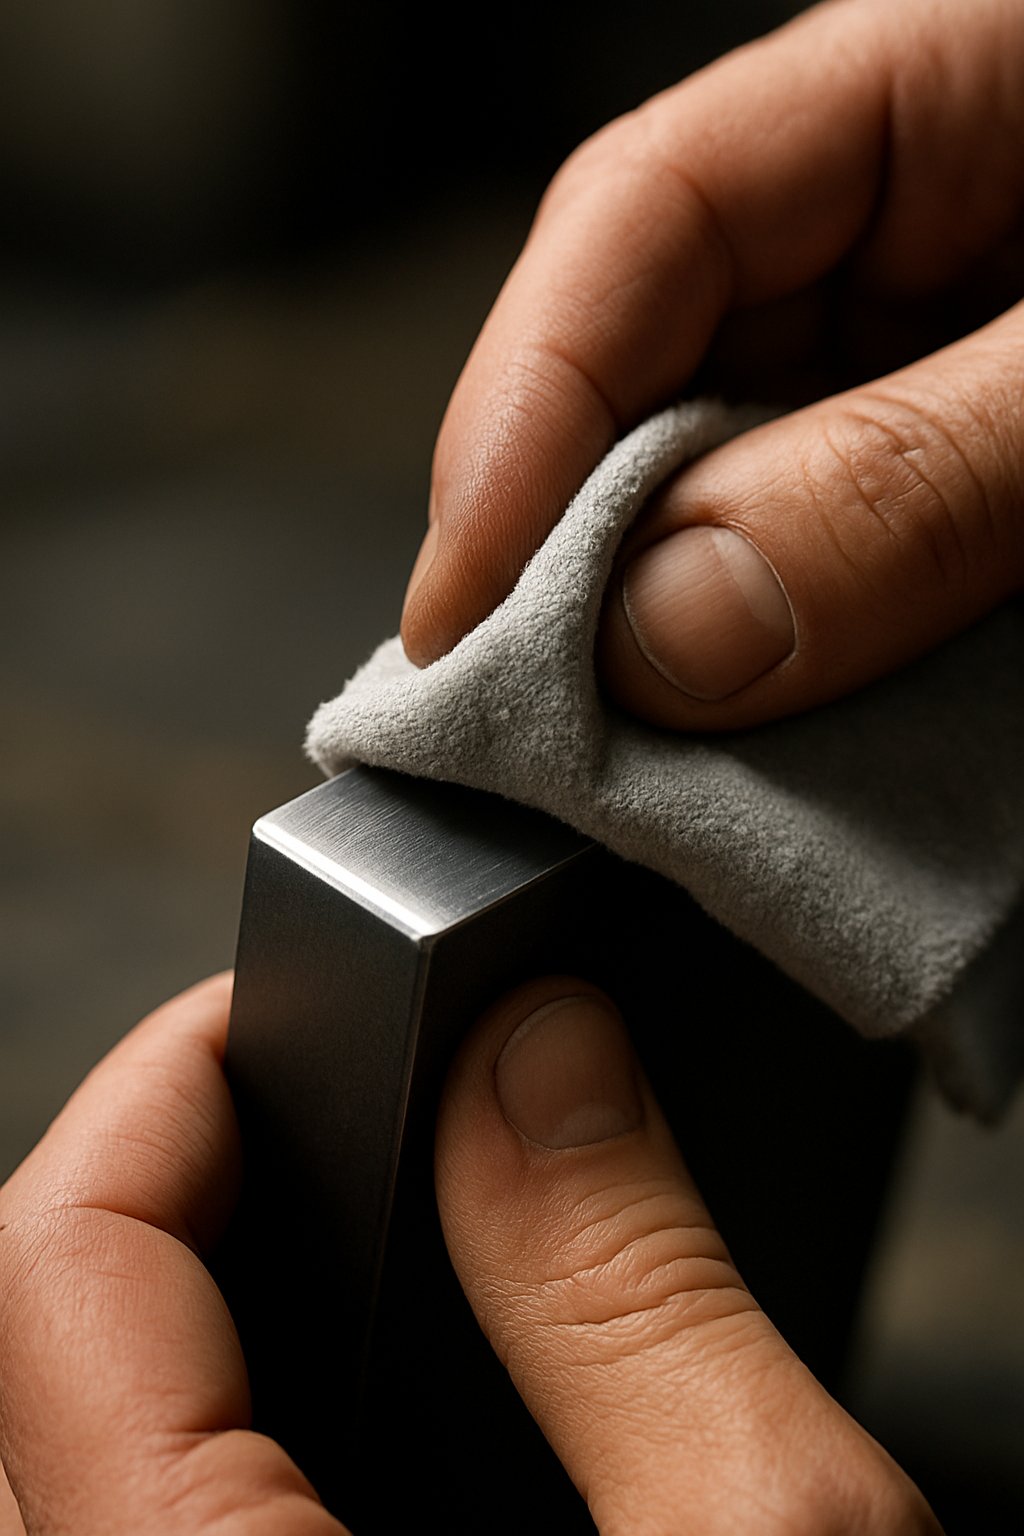
When the surface is clean, fully dry, and still looks flat, the goal changes from washing to careful restoration. This is where many people make the wrong move. They try to burnish aluminum the way they would bare trim or hardware. That is risky on anodized parts. As Xometry explains, anodized color is integrated into the oxide layer itself, so aggressive rubbing can alter the appearance instead of simply improving it. If you are asking, is aluminum polishable, the answer depends on whether you are touching intact anodizing or exposed bare metal.
Sometimes dullness is only a thin film of residue, handling haze, or mild surface chalking. In those cases, a few careful passes can improve aluminum shine without treating the part like raw metal. That is very different from burnishing aluminium with compounds, pressure, or machine speed. On intact anodizing, restoration is about refreshing the look of the existing layer, not cutting into it.
If you see any of those warning signs, stop. Trying to burnish aluminum further, or continuing burnishing aluminium in hopes of a quick shine boost, usually makes the contrast worse. Gentle restoration can help dull but intact surfaces. It cannot safely create a bare-metal gloss on protected areas. That distinction matters even more where true metal polish enters the picture, because some spots may be suitable for polishing while others absolutely are not.
Here is the direct answer: intact anodized aluminum usually should not be polished the way bare aluminum is polished. Traditional aluminum metal polish is designed to remove oxidation from raw metal through friction and mild abrasives. The Flitz guide describes that process for bare aluminum, while the LT Aluminum guide warns that over-polishing can thin or remove the anodized layer. On an intact surface, especially a colored one, metal polish can take away more than grime. It can change the sheen, lighten the color, or expose softer metal underneath.
Usually, no. If the anodized finish is still continuous, the safe approach is cleaning, very light hand buffing, or a manufacturer-approved non-abrasive restorer. Save aluminum polish for confirmed bare aluminum only. That is why the question of the best metal polish for aluminum matters far less than correctly identifying what surface you actually have.
| Surface condition | Safe method | Avoid | Likely outcome |
|---|---|---|---|
| Intact clear anodizing | Mild cleaning, gentle microfiber buffing | Traditional metal polish, aggressive rubbing | Cleaner look, some gloss recovery, no mirror finish |
| Dyed anodizing | Cleaning only or very mild approved restorer | Metal polish, repeated buffing on one spot | Better color clarity, but high risk of uneven fading if overworked |
| Worn-through spots | Treat only the exposed bare area with care | Polishing across the surrounding anodized finish | Small improvement on bare spot, but visual mismatch is common |
| Bare aluminum sections | Use a suitable polish by hand or controlled buffing | Assuming it will match nearby anodized areas exactly | Higher shine is possible, depending on metal condition |
There are a few exceptions. High-contact edges, corners, and deep wear marks sometimes expose raw metal. In those isolated areas, a small amount of aluminum polish may be used only on the bare section, with tight control and frequent inspection. If you are looking up how to buff aluminum, that advice belongs to those bare spots, not the intact anodized field around them. Even a careful touch-up may still look different because polished bare metal rarely blends perfectly with surrounding anodizing.
If your real goal is how to polish aluminum to mirror finish or how to buff aluminum to mirror finish, that is a bare-metal finishing process. The same Flitz article makes the distinction clearly: anodized aluminum is not a good candidate for mirror polishing, while bare aluminum can be worked much further once it is uncoated. On intact parts, buffing aluminum to mirror finish usually means abrading away the very layer you were trying to preserve.
So, what can metal polish actually do here? On bare sections, it can brighten and smooth the exposed metal. On intact anodizing, it usually creates risk before it creates benefit. The realistic result is selective improvement, not a uniform showroom shine. And when the surface shows deep scratches, blotchy wear, flaking, or widespread color loss, more rubbing stops being maintenance and starts making damage permanent.
A small worn edge can sometimes be handled carefully. A surface with broader damage is different. At that point, more rubbing usually means more loss. The anodized finish is a protective aluminum oxide layer grown from the metal itself, and AAC notes that if scratches or gouges affect the base metal, true repair generally requires removing the anodic coating, repairing the substrate, and re-anodizing. From the maintenance side, Linetec warns that once chemical attack visibly affects the finish, the damage is irreversible.
Aggressive correction is not the default next step. On intact anodizing, more abrasion usually means less protection.
Searches for wet sanding aluminum, sanding aluminum for polishing, or how to sand aluminium usually lead to bare-metal restoration methods. That is the problem. Sandpaper, abrasive pads, and an aluminium polishing compound can cut through the anodized layer, flatten the original texture, and leave bright or patchy areas that no cleaner can blend back. The same caution applies to search terms like polishing aluminum with wd40 when the real plan is heavier rubbing or compound work. Those approaches may make sense on bare aluminum. They do not rebuild damaged anodizing.
Wear-through often shows up first where hands, hardware, or friction hit the part most. You may see lighter shiny metal, uneven sheen, or exposed areas that look smoother than the surrounding finish. Mild haze may still improve with cleaning. Deep defects usually will not. If the damage spreads across the part, even careful use of an aluminium polishing compound on exposed spots can leave a mismatch beside the remaining anodized surface. In that situation, refinishing, re-anodizing, or replacement is usually the cleaner path. And if the finish is still sound in most areas, preserving it matters more than forcing one last correction pass.
If the finish is still intact, preservation matters more than chasing extra shine. Anodized aluminum already has a built-in oxide layer, so the smartest protection is often basic care: remove dirt, rinse off residue, and keep moisture from sitting on the surface. Andersen recommends inspecting and cleaning anodized aluminum at least once per year, or once per month in coastal or other extreme-weather conditions. Linetec adds that sheltered areas, industrial settings, and low-rainfall climates usually need more attention because soil and salts hang on longer.
Start with the least committed option. If the surface looks even after cleaning and gentle restoration, leaving it clean and dry may be the best choice. Add a protectant only when the finisher or manufacturer allows it, or when exposure conditions justify the extra step. That matters because many products sold for bare metal are not ideal on intact anodizing. A wax polish aluminum product, an aluminum polish and sealer, or a polished aluminum sealer may sound useful, but those labels often target raw or highly polished metal rather than a preserved anodized finish.
| Protection option | Best fit | Main caution | Likely result |
|---|---|---|---|
| Leave the finish uncoated | Intact anodizing that already looks good after cleaning | Needs routine washing and drying | Lowest risk, original look stays unchanged |
| Compatible wax or light protectant | Mild exposure, appearance-focused maintenance, only if approved | Can leave residue and may need later removal | Short-term water shedding and cosmetic improvement |
| Polish-and-sealer product | Only when the label clearly states anodized-safe and non-abrasive | Many combo products are meant for bare metal | Selective improvement, but compatibility matters |
| Clear coating | Faded or weathered surfaces where a film-forming finish is justified | More committed, surface must be fully clean and dry first | Can improve uniformity and add a protective layer |
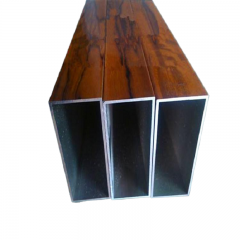
Clear coatings are the most committed option, so they should not be automatic. Guidance from Everbrite emphasizes two basics before coating: do not coat over oxidation or dirt, and do not apply coating to hot metal or in direct sun. Many guides about clear coating polished aluminum are written for bare metal, so they should not be copied blindly onto intact anodized parts. The same caution applies if you are comparing anodizing care with polished aluminum powder coat systems. Powder coat is an added film from the start, while anodizing is part of the metal surface itself.
When this light routine keeps the surface even and presentable, there is no advantage in adding more chemistry. If the look still drifts toward blotchy, faded, or inconsistent, the question stops being maintenance alone and starts becoming a finish decision.
Minor dullness usually does not require replacement. If gentle cleaning and restoration have already improved the surface, preserving the existing finish is still the smartest move. The tougher decision shows up when the anodized layer is visibly worn, patchy, or inconsistent across several parts. Because anodizing becomes part of the aluminum rather than a coating that simply sits on top, damage changes what can realistically be recovered, as Can Art explains. That is also why most advice on how to polish aluminum does not translate well to older anodized surfaces.
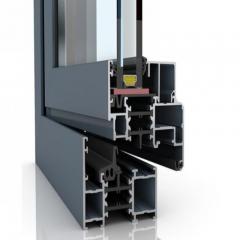
Professional help makes sense when appearance matters as much as function. Think entry doors, trim systems, storefront framing, or any project where mismatched sheen will stay visible every day. If the original part is worth saving, refinishing may be the middle path. If wear is widespread, replacement often becomes the cleaner answer. Trying to get a mirror polish aluminum look from damaged anodizing usually creates more contrast, not less. And if the design target is a uniform mirror finish aluminum appearance across multiple pieces, hand correction is rarely the best way to polish aluminum.
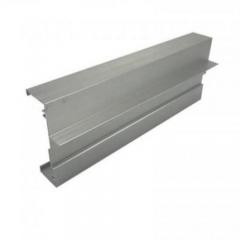
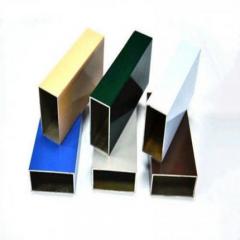
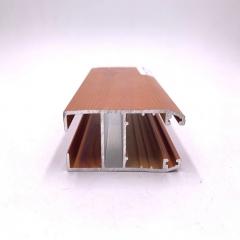
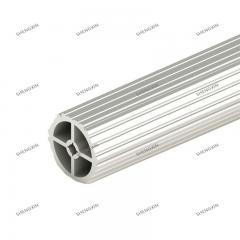
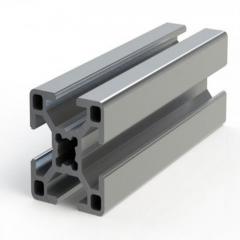
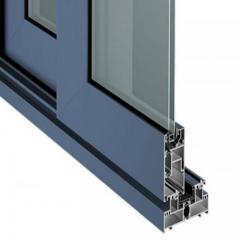
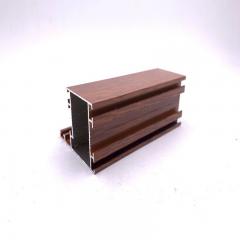
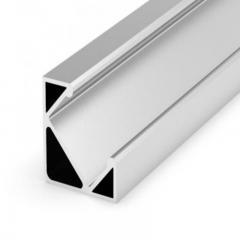
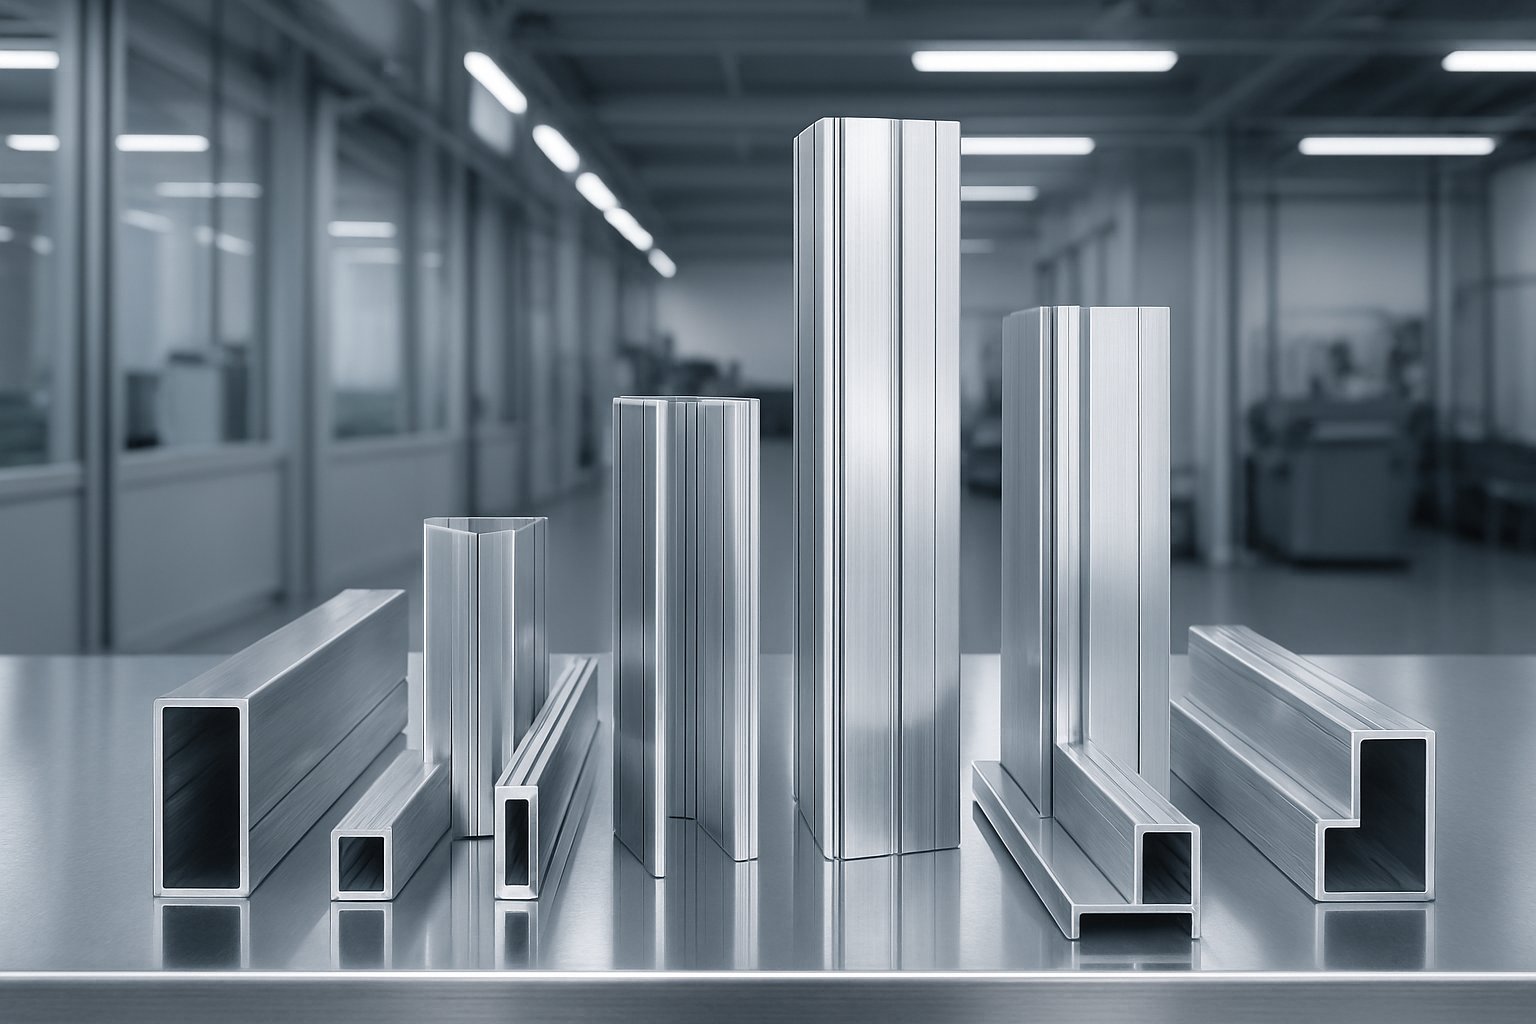
For new builds, upgrades, or badly worn extrusions, factory-finished replacement parts can be more practical than repeated touch-ups. Shengxin Aluminium offers custom polished aluminum extrusion profiles with smooth, reflective surfaces, multiple alloy options, and finishing choices such as anodizing and powder coating. The company also states that it has 30 years of manufacturing experience and custom production capability, which can be useful when a project needs consistent polished aluminium components instead of one-off repair work.
| Finish path | Best for | Main advantage | Main limitation |
|---|---|---|---|
| Custom factory-polished extrusion profiles from Shengxin Aluminium | Badly worn parts, new projects, or jobs needing a uniform decorative finish | Consistent polished aluminum appearance, custom sizes and finish options, less rework on site | Replacement is unnecessary for minor dullness and adds upfront project cost |
| Professional refinishing services | Original parts that still deserve saving but look too uneven for DIY | Can improve overall appearance without changing the whole assembly | Results depend on part condition and may not perfectly match aged adjacent pieces |
| DIY cleaning and gentle restoration | Light dullness, dirt, residue, and intact anodizing | Lowest risk and lowest cost when the finish is still sound | Will not create a true mirror finish aluminum result on intact anodized surfaces |
If the surface is only mildly tired, keep maintaining it. If the piece is important but salvageable, ask a professional what refinishing can realistically deliver. If the goal is repeatable polished aluminium across many visible parts, or a cleaner mirror finish aluminum effect from the start, specifying factory-finished profiles is often more efficient than trying to rescue every worn section by hand. In short, the best decision is the one that protects sound anodizing, avoids unnecessary abrasion, and matches the finish standard your project actually needs.
Usually not on an intact anodized surface. Traditional metal polish is made to abrade oxidation from bare aluminum, so it can thin the anodized layer, change the sheen, or fade dyed finishes. If a part has small worn-through spots where raw metal is already exposed, polish may be used only on those bare areas with careful masking, light pressure, and frequent checks. A hidden-spot test is still the safest first step.
Start with the gentlest method possible. Remove loose dust first, then wash with mild soap and clean water or a manufacturer-approved pH-neutral cleaner using a soft microfiber cloth or non-scratch sponge. Rinse thoroughly so cleaner does not dry on the surface, then dry fully with a clean lint-free cloth. If spotting is a problem, a final wipe with distilled water can help. Many dull-looking surfaces improve after proper washing and drying alone.
Look for condition clues after the surface is fully clean and dry. Warning signs include lighter edges, patchy color, exposed shiny metal on corners, scratches that catch a fingernail, pitting, flaking, or uneven sheen that gets worse where you rub. If dark residue keeps increasing during buffing or the color starts changing, the finish may already be compromised. At that point, more rubbing is unlikely to create a uniform result.
Sometimes, yes, if the anodized layer is still intact. The best approach is to re-clean the area, inspect it in good light, and try very light hand buffing with a clean microfiber cloth before using any restorer. If basic buffing does not help, use only a mild non-abrasive product that is approved for anodized finishes. Expect modest improvement, such as clearer color or less haze, not a bare-metal mirror look. Stop immediately if you notice fading, uneven gloss, or fresh scratches.
DIY care makes sense for light dirt, mild dullness, and intact anodizing. Professional refinishing or replacement becomes the better option when damage is widespread, the finish is blotchy, edges are worn through, or appearance must match across several visible parts. For new projects or badly worn extrusions, factory-finished components can save time and reduce touch-up work. Shengxin Aluminium, for example, offers custom polished aluminum extrusion profiles for applications that need a smooth, uniform decorative finish rather than spot repair.


 Onlineservice
 0086 136 3563 2360
 sales@sxalu.com
 +86 136 3563 2360
 Deutsch
 English
 français
 русский
 español
 português
 العربية
 ไทย
ไทย Việt
Việt Українська