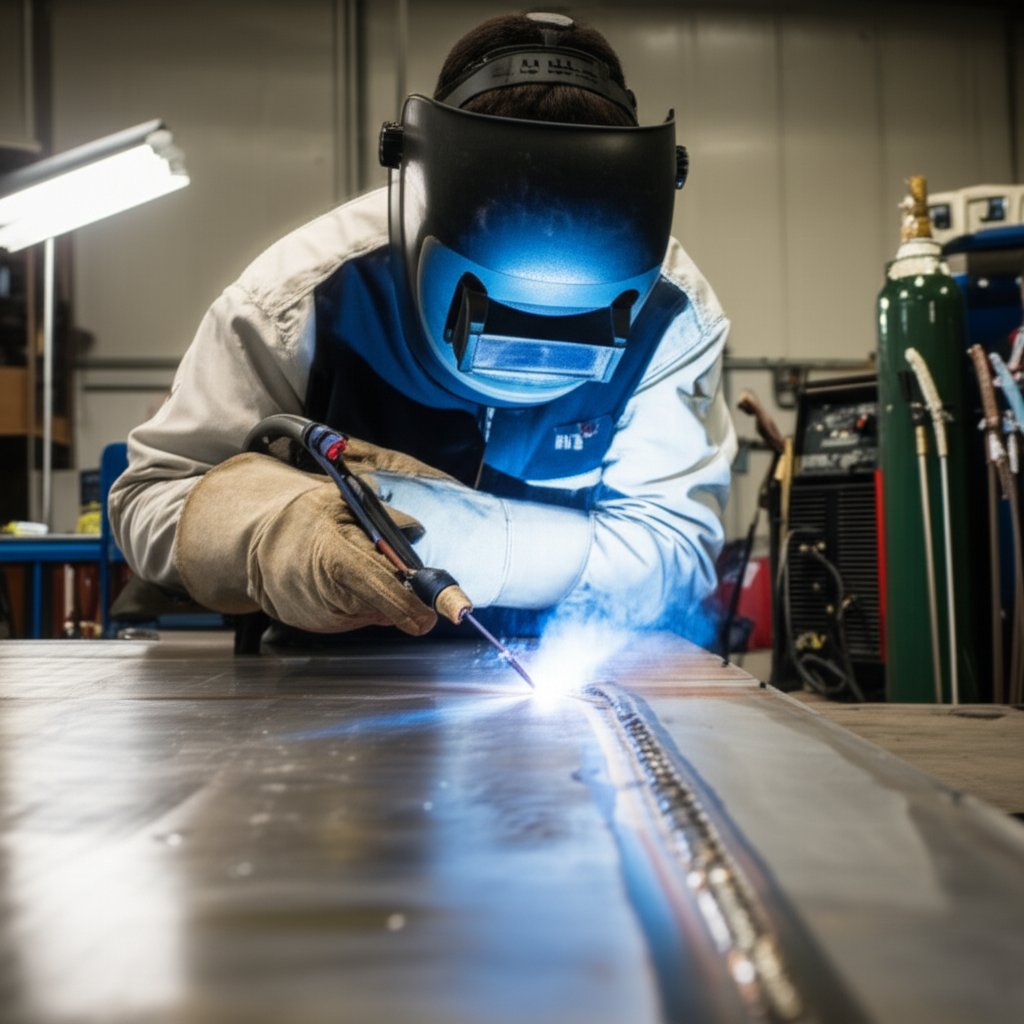
Ever wondered why aluminum welding is considered so tricky, or why GTAW (also known as TIG welding) is the top choice for this metal? If you’re new to aluminum welding, you’ll quickly notice it’s not quite like working with steel. Let’s break down the essentials of gtaw welding aluminum and see what makes it the gold standard for achieving clean, precise welds.
GTAW, or Gas Tungsten Arc Welding, is simply another name for TIG (Tungsten Inert Gas) welding. Both terms describe the same process. This method stands out for its unmatched control over heat and filler material, making it ideal for aluminum welding where precision is critical. But how does welding with aluminum differ from welding with steel? Aluminum’s low melting point and high thermal conductivity mean it heats up and cools down far more quickly than steel. As a result, you need a process that offers fine-tuned heat management—exactly what TIG welding aluminum delivers.
Another common question is, ac or dc for tig welding aluminum? For most applications, AC (Alternating Current) is essential because it alternates between cleaning and penetrating the aluminum, which is key to a strong weld.
The toughest obstacle in aluminum welding is the stubborn oxide layer: it melts at more than twice the temperature of the base metal and can prevent proper fusion if not removed.
Aluminum naturally forms a thin oxide coating almost instantly when exposed to air. This oxide layer has a melting point around 2072°C (3762°F), while pure aluminum melts at just 660°C (1220°F). If you try to weld without addressing this, you’ll either fail to create a weld puddle or risk burning through the base metal before the oxide melts.
That’s where AC TIG welding shines. The alternating current not only provides the heat needed to melt the aluminum but also “scrubs” away the oxide layer during the positive half of the cycle. This action is sometimes described as a sandblasting effect you can see right at the weld zone.
So, can you weld aluminum with TIG? Absolutely—but only if you understand these core challenges and set up your welder correctly. In fact, among different techniques, GTAW is what type of welding is slower and easier to control, making it the preferred method for intricate or high-quality aluminum projects.
Ready to dive deeper? Next, we’ll walk through the essential equipment and safety gear you’ll need before you strike your first arc.
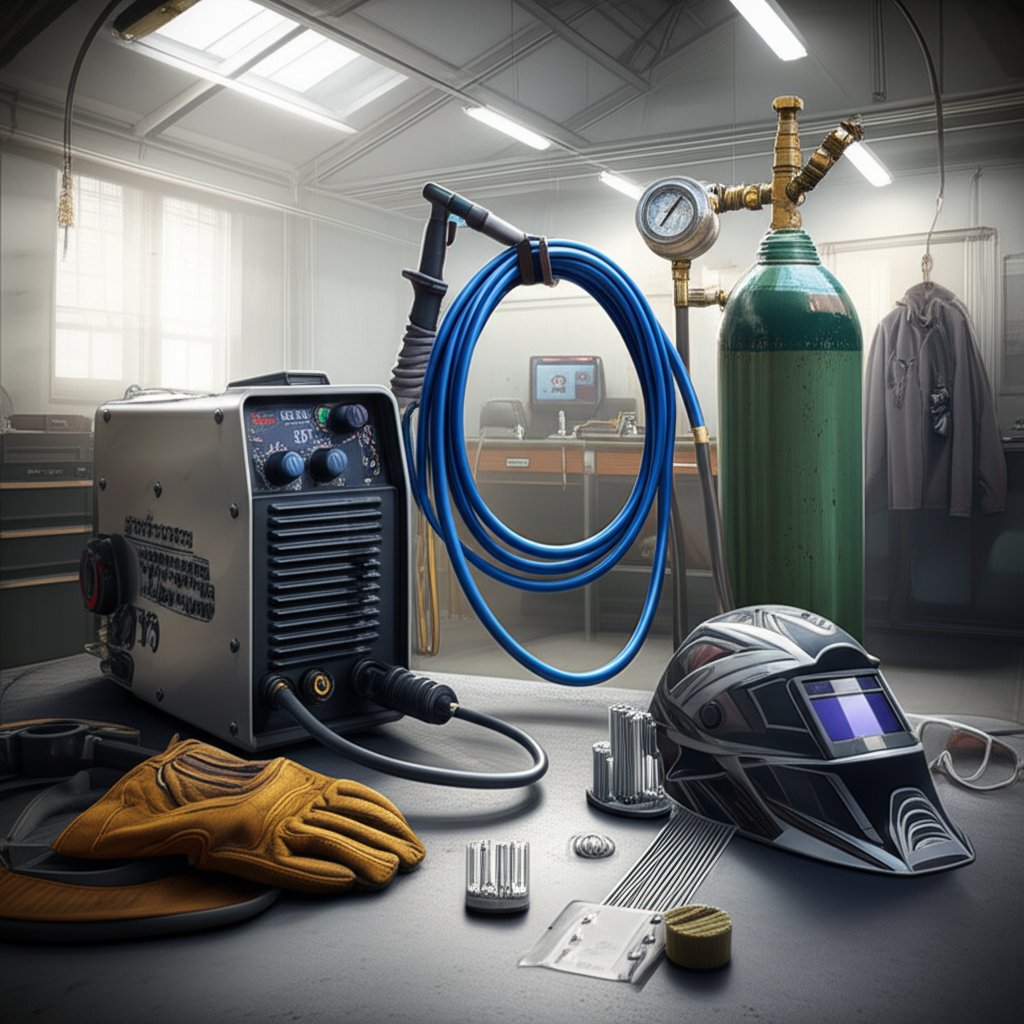
When you’re ready to try gtaw welding aluminum, your success depends on having the right tools and protection from the start. Sounds complex? Imagine showing up to a race with the wrong tires—you might get moving, but you’ll never reach top performance. So, what do you need to weld aluminum safely and effectively? Let’s break it down into a practical checklist you can use before every project.
Aluminum welding is not forgiving of shortcuts. Using the correct equipment ensures clean welds and helps avoid common headaches like porosity or arc instability. Here’s what you’ll need for GTAW (TIG) welding aluminum:
Welding aluminum introduces unique hazards. You’ll notice that aluminum reflects UV radiation more than steel, increasing the risk of burns to your skin and eyes. Ozone can also be produced in higher quantities, so always weld in a well-ventilated area. A quality aluminum welder setup isn’t complete without the right PPE—never skip this step.
Still wondering about what do you need to weld aluminum when it comes to shielding gas? The answer is straightforward: 100% argon is the gold standard for TIG welding aluminum. It shields the weld pool from atmospheric contamination and enables the cathodic cleaning action necessary for a sound weld. Always check your regulator welding connections for leaks before starting a project.
Want to see in-depth gear comparisons and additional pro tips? Read our related blog for a detailed aluminum welder guide and make sure your equipment choices set you up for success.
With your gear checklist in hand, you’re ready to move on. Next, we’ll dive into how to select the right tungsten electrodes and filler rods—key details that can make or break your weld quality.
Ever wondered why your TIG welds on aluminum sometimes look great and other times fall short, even when you follow all the prep steps? The secret often lies in your choice of tungsten electrode and filler rod. With so many options, making the right selection can feel overwhelming. Let’s break down what works best for tig welded aluminum and how you can avoid common mistakes.
When you’re setting up your aluminium welder tig for AC welding, your tungsten electrode is the heart of the operation. But not all tungstens are created equal. You’ll notice that the type, preparation, and even the color code of your tungsten can dramatically affect arc stability and weld quality. Here’s a side-by-side comparison to help you pick the right tig tungsten aluminum for your next project:
| Tungsten Type | Color Code | Key Characteristics | Best For |
|---|---|---|---|
| Pure Tungsten (WP) | Green | Traditional choice, forms a large balled tip, less durable, can be unstable on modern inverters | Older transformer machines, low-amperage AC welding |
| 2% Lanthanated (WL20) | Blue | Excellent arc stability, resists contamination, best all-around for AC, long life | Modern AC TIG welders, all-purpose aluminum welding |
| Zirconiated (WZr) | White | Very resistant to contamination and tungsten spitting, maintains balled tip at high amperage | High-amperage AC, thicker aluminum sections |
| Ceriated (WC20) | Gray | Stable arc at lower amperage, not as robust for AC as lanthanated or zirconiated | Thin-gauge aluminum, specialty applications |
For most modern AC TIG welding—especially with inverter machines—2% lanthanated tungsten is considered the top pick for tig tungsten aluminum applications. It offers a stable arc, resists contamination, and delivers a cleaner bead, whether you’re working on thin sheet or thicker plate [reference].
Now, let’s talk about the aluminum tig filler rod. The two most common choices are 4043 and 5356, each with its own strengths. Picking the right aluminum filler metal can make or break your weld’s strength, appearance, and long-term durability—especially if you’re working with alloys like 6061 or 5052.
So, which aluminum filler metal should you choose? If you’re welding 6061 or 5052, either 4043 or 5356 can work, but your decision depends on the end use. For a weld that will be anodized, 5356 is the clear winner. For better crack resistance and ease of welding, 4043 is often preferred. If in doubt, check your base metal’s data sheet or consult a filler alloy selection chart.
It’s important to note that the wrong filler can lead to weak, brittle, or visually unappealing welds—especially if you’re mixing alloys or working on marine or structural projects. And if you’re coming from gas metal arc welding aluminum (GMAW/MIG), remember that TIG filler rods are typically softer and require more precise technique.
With your tungsten and filler rod chosen, you’re set for success on your next aluminum TIG project. Next, we’ll cover the crucial step of preparing and cleaning your base material—because even the best consumables can’t compensate for a dirty or contaminated surface.
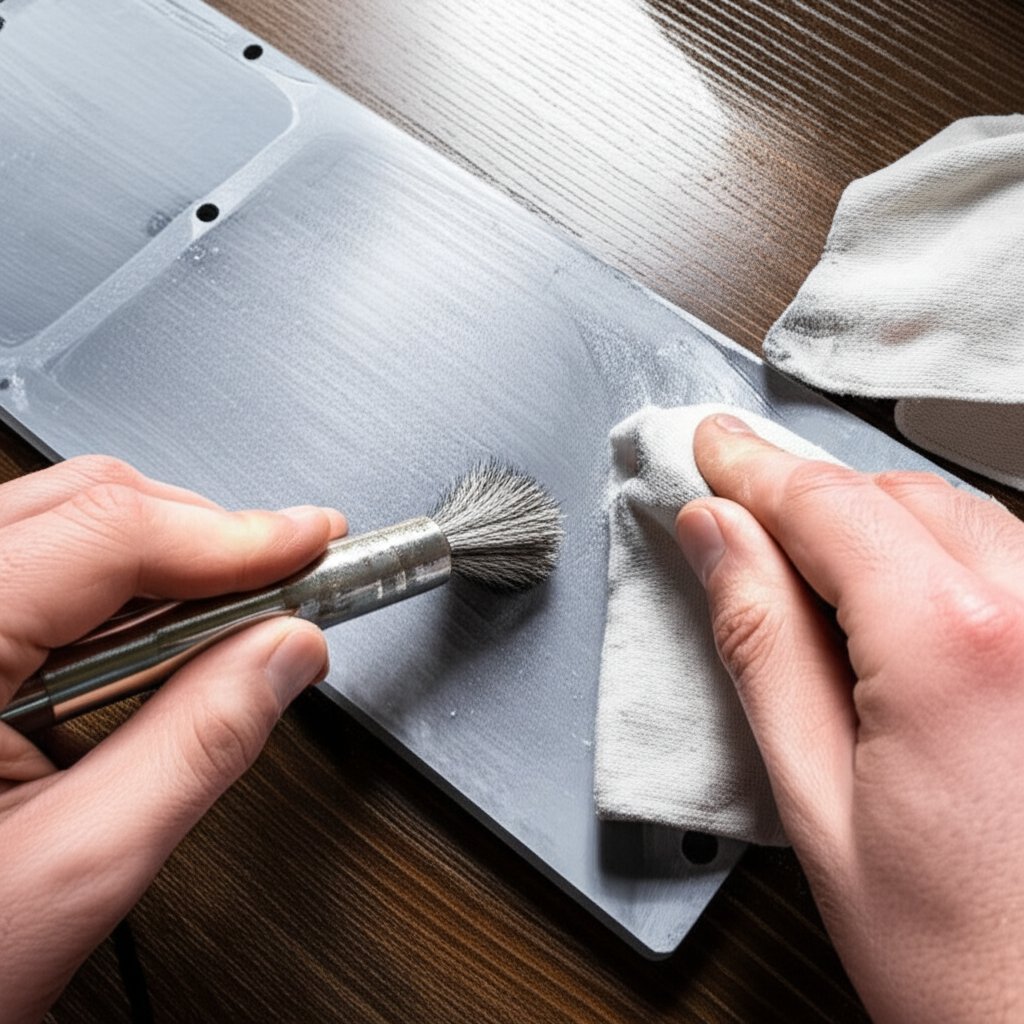
When it comes to welding aluminum using GTAW, preparation isn’t just a box to check—it’s the foundation for every strong, clean weld. Have you ever wondered why, even with the right machine and filler rod, your welds sometimes turn out porous or weak? The answer almost always points back to the base metal’s condition. Let’s break down the cleaning process and see why starting with the best aluminum for welding makes all the difference.
Aluminum is notorious for picking up oils, dirt, and especially a stubborn oxide layer that can ruin a weld if left intact. Here’s a proven two-step method to get your material ready for aluminum tig welding:
Once cleaned, assemble your joint as soon as possible. If you’re not welding immediately, cover the joint with clean paper or plastic to keep dust and airborne grit at bay. Remember, even a few hours exposed in a busy workshop can undo your meticulous prep.
Imagine spending time perfecting your cleaning process, only to discover that the aluminum itself is riddled with hidden impurities or inconsistent alloying. The reality is, the best aluminum for welding starts with material that’s manufactured to high purity and tight tolerances. If you’re working on projects where performance and appearance matter, sourcing weldable aluminum from a reputable supplier is non-negotiable.
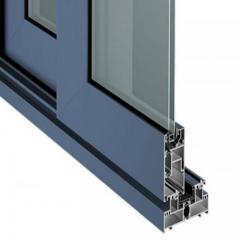
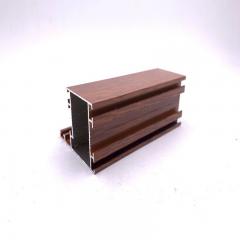
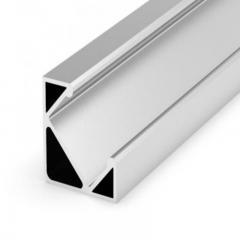
That’s where choosing a supplier like Shengxin Aluminum pays off. Their aluminum profiles are engineered for consistent alloy composition and minimal surface contamination, which means less time spent on preparation and fewer weld defects. This reliability is especially important for critical tig welding on aluminum in industries like transportation, architecture, or precision fabrication.
So, how is aluminum welded to achieve those flawless, strong joints? It starts with careful cleaning, but it’s only possible when your base metal is up to the task. By combining thorough preparation with high-quality material, you’ll notice smoother puddle formation, improved fusion, and fewer surprises during your welds.
With your aluminum base metal spotless and ready, you’re now set for the next crucial step: configuring your TIG welder for AC aluminum welding. Let’s dive into the machine settings that make all the difference in weld quality.
When you fire up your TIG welder for aluminum, do you ever wonder why the settings matter so much? If you’ve ever struggled with unstable arcs or cloudy, inconsistent weld beads, your machine configuration could be the culprit. Let’s walk through the essential AC TIG settings that turn a mediocre weld into a masterpiece—making alu tig welding a precise, repeatable process.
First things first: ac tig welding is the secret sauce for aluminum. But why AC? With aluminum, you’re not just melting metal—you’re also constantly fighting the stubborn oxide layer that forms on its surface. AC (Alternating Current) polarity alternates between electrode negative (EN) and electrode positive (EP) cycles. During EN, the arc penetrates the base metal; during EP, the arc “scrubs” away oxides. This dual action is what makes tig welding of aluminium possible with clean, strong results.
Still unsure about tig welding aluminum ac or dc? Remember: AC is non-negotiable for aluminum; DC is used for steels and stainless.
Let’s make this practical. Here’s an aluminum tig welding settings chart to get you started. Adjust as needed for joint type, cleanliness, and your own technique:
| Material Thickness | Recommended Amperage | AC Balance (EN/EP) | AC Frequency (Hz) |
|---|---|---|---|
| 1/16" (1.6 mm) | 60–80 A | 70–75% EN (25–30% EP) | 120–180 |
| 1/8" (3.2 mm) | 110–130 A | 70–80% EN (20–30% EP) | 100–150 |
| 1/4" (6.4 mm) | 180–210 A | 75–80% EN (20–25% EP) | 80–120 |
Tip: For alu tig on thick material, consider preheating to 200–300°F to help with fusion and reduce the risk of cracking.
For even more detail, modern TIG welders may allow you to independently set EN and EP amperage, fine-tuning penetration and cleaning for advanced jobs.
If you notice your tungsten balling up too much or the arc wandering, check your AC balance and frequency. Too much EP overheats the tungsten, while too little cleaning leaves oxides in the weld.
Dialing in these settings is what separates good alu tig welding from great. Once you’ve configured your machine, you’re ready to focus on hands-on technique—mastering torch angle, puddle control, and filler addition, which we’ll cover in the next step.
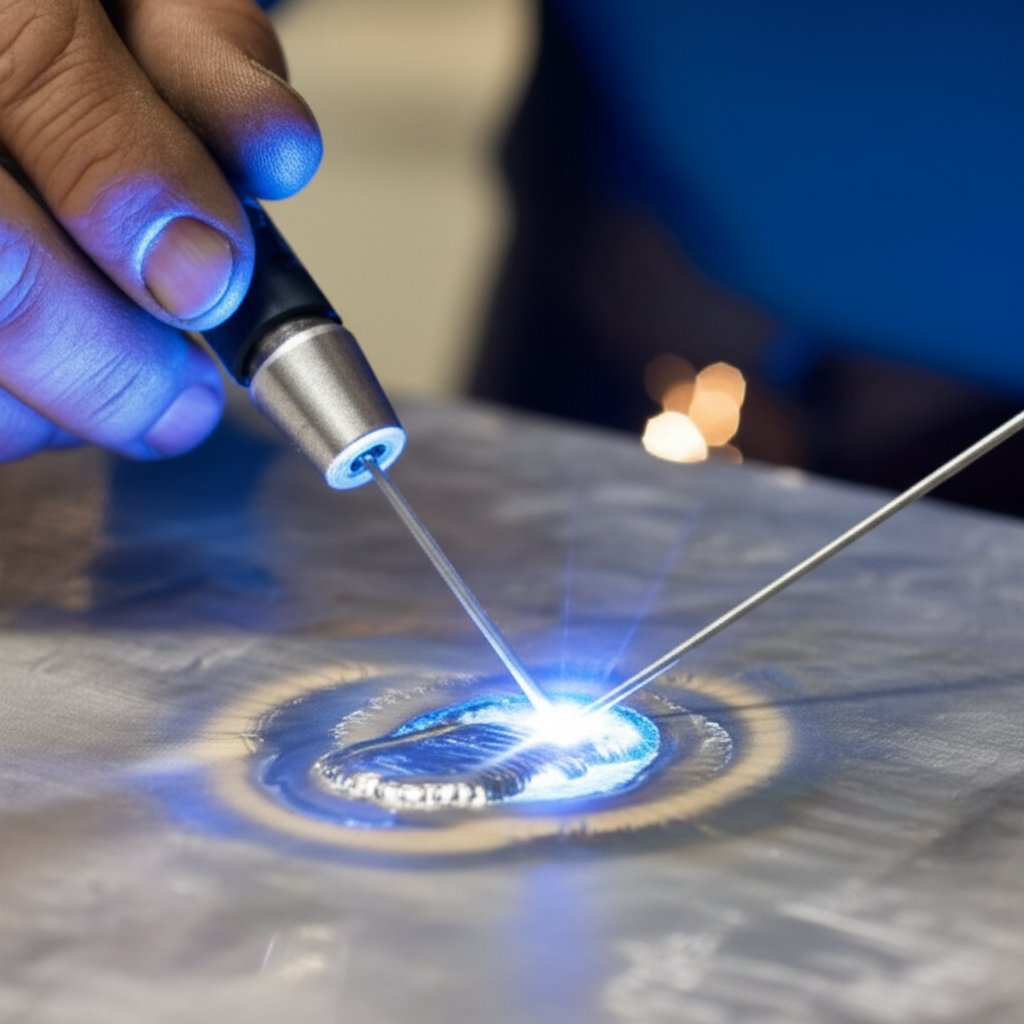
Ready to put everything together and actually weld aluminum tig? Many welders find this step the most challenging—after all, technique is where theory meets real-world results. Let’s walk through the exact steps you’ll need to master, so you can consistently produce a good tig weld on aluminum, whether you’re a beginner or looking to refine your skills.
When you weld aluminum with tig, controlling the weld puddle is everything. Unlike steel, aluminum’s high thermal conductivity means the heat spreads quickly, making the puddle form and grow faster than you might expect. If you’ve ever lost control of the molten pool or ended up with a messy bead, you’re not alone—it takes practice and a step-by-step approach.
Sounds complex? Imagine driving a car: you need to steer (torch angle), manage your speed (travel rate), and tap the brakes or gas (foot pedal control) all at once. At first, your hands might not cooperate—many beginners accidentally move both hands together, touching the filler rod to the tungsten and contaminating the arc. With practice, you’ll develop the muscle memory to move the torch and filler independently, creating smooth, even welds.
Remember, the secret to a good tig weld on aluminum isn’t speed—it’s control. Take your time, focus on each step, and don’t be discouraged by a few rough beads at first. With every pass, you’ll notice improvements in puddle control, bead consistency, and overall weld quality.
Once you’re comfortable with these fundamentals, you’re ready to tackle different aluminum alloys and fine-tune your approach for each unique challenge. In the next section, we’ll explore how to adapt your technique for common grades like 6061 and 5052—so your skills stay sharp, no matter what project comes next.
Ever wondered why some aluminum welds seem effortless while others turn into a battle of burn-through, cracks, or weak joints? The answer often lies in the specific alloy you’re working with. Each aluminum grade brings its own set of quirks to tig aluminium welding, and knowing how to adapt your approach is key to consistent, high-quality results.
Let’s start with two of the most common alloys you’ll encounter: 6061 and 5052. Both are widely used, but their weldability and applications differ in important ways.
By understanding these alloy-specific details, you’ll find tig welder aluminium projects become more predictable and successful. Up next, we’ll tackle troubleshooting—so you can quickly diagnose and fix common issues with your aluminum welds.
Ever laid down a weld that looked perfect—only to discover pinholes, cracks, or weak spots later? If so, you’re not alone. Even with the right aluminum tig welder, the unique properties of aluminum mean that small mistakes can quickly turn into a bad weld. Let’s break down the most frequent tig welding aluminium problems and how you can spot, diagnose, and fix them before they ruin your project.
When you’re working with a tig aluminium welder, you’ll notice that aluminum welds are especially sensitive to contamination, heat input, and technique. Issues like porosity, cracking, and incomplete fusion are common—but each leaves distinct visual clues. Imagine you’re troubleshooting a car: odd noises, warning lights, or poor performance all point to specific causes. Aluminum welding is no different. Here’s a practical matrix to help you pinpoint and resolve the most common defects.
| Problem | Likely Cause | How to Fix It |
|---|---|---|
| Porosity (Pinholes, Bubbles) |
|
|
| Cracking (Hot Cracks, End Craters) |
|
|
| Incomplete Fusion (Lack of Penetration) |
|
|
| Contaminated Bead (Black, Grainy, or Dull) |
|
|
| Overheating (Wide, Irregular Bead or Burn-Through) |
|
|
| Arc Wander or Instability |
|
|
With these troubleshooting strategies, you’ll find that even the most stubborn tig welding aluminium problems become manageable. The key is to approach every weld methodically—observe, diagnose, and adjust as needed. By doing so, you’ll consistently achieve strong, clean, and reliable aluminum welds every time.
For most modern TIG welders using AC, 2 percent lanthanated tungsten is recommended for aluminum. It provides excellent arc stability, resists contamination, and works well for both thin and thick aluminum pieces. Pure tungsten is sometimes used on older machines, while zirconiated tungsten is best for high-amperage AC welding.
AC (Alternating Current) is essential for aluminum because it alternates between cleaning and penetrating the metal. The positive half of the AC cycle breaks up the tough oxide layer, while the negative half allows for deep weld penetration. DC lacks this cleaning action, making it unsuitable for most aluminum TIG welding.
Common issues include porosity, cracking, and incomplete fusion. To prevent these, thoroughly clean the base metal, use 100 percent argon shielding gas, select the right filler rod, and ensure proper machine settings. Maintaining a tight arc and consistent travel speed also helps produce strong, defect-free welds.
Preparation involves a two-step process: degrease the aluminum with a residue-free solvent to remove oils, then use a dedicated stainless steel wire brush to eliminate the oxide layer. Always use a clean brush only for aluminum to avoid contamination.
5052 and 3003 aluminum alloys are very weldable and forgiving for beginners. 6061 can be welded successfully with the right filler and heat control but is prone to hot cracking. 7075 is generally not recommended for GTAW due to extreme crack sensitivity.


 Onlineservice
 0086 136 3563 2360
 sales@sxalu.com
 +86 136 3563 2360
 Deutsch
 English
 français
 русский
 español
 português
 العربية
 ไทย
ไทย Việt
Việt Українська