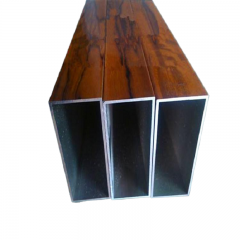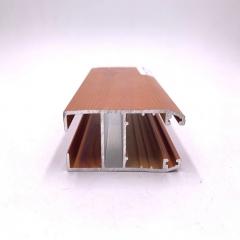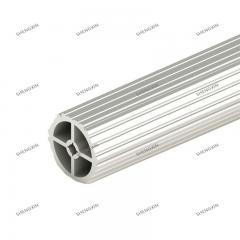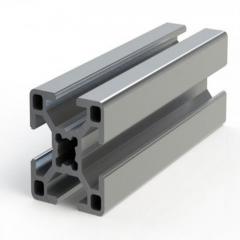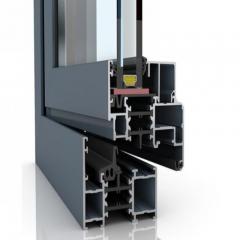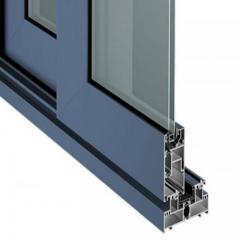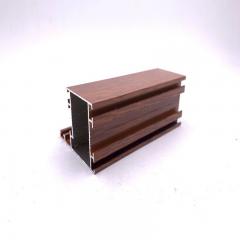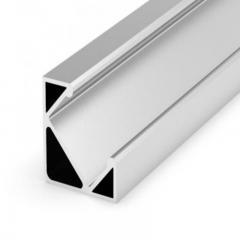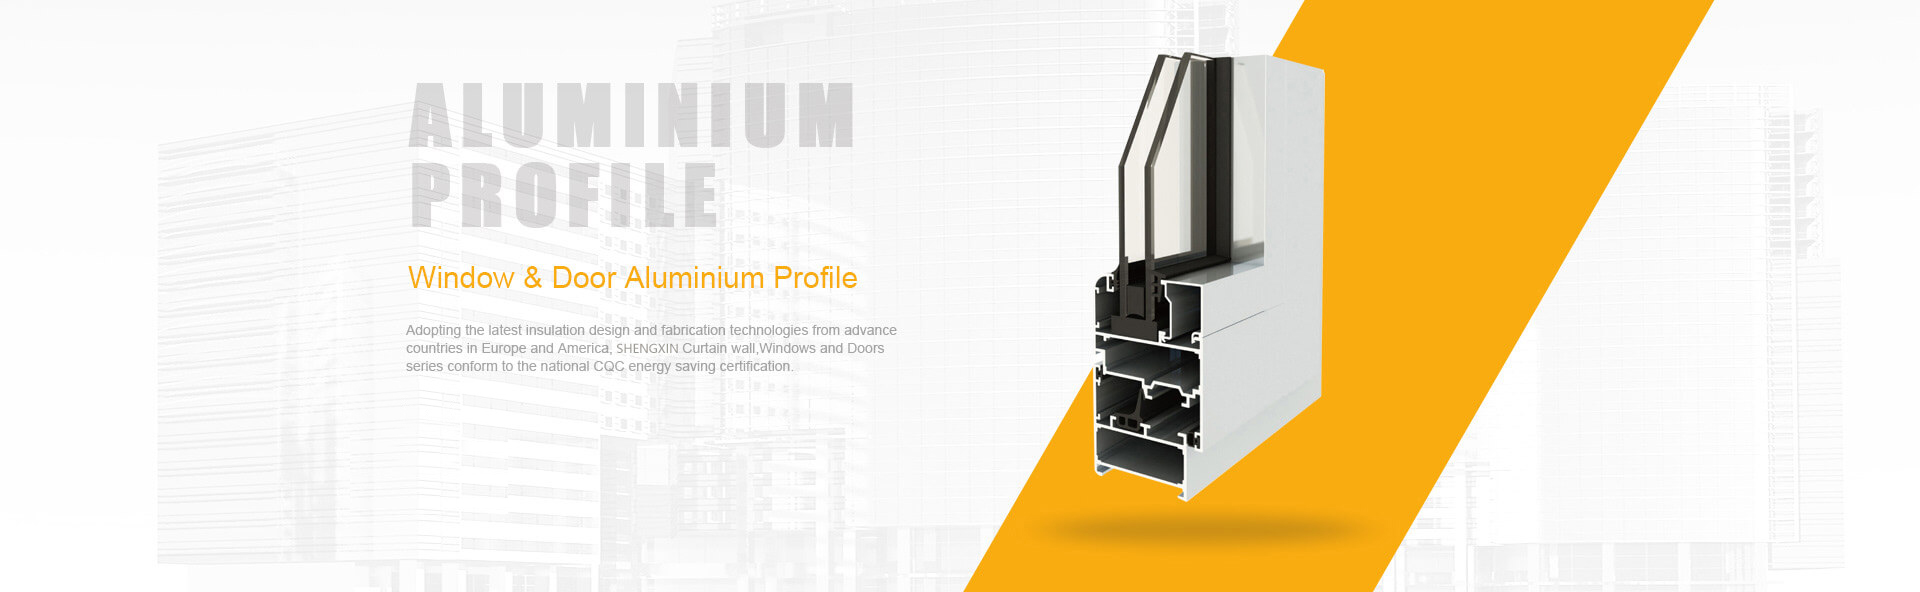
When you're developing a new product or engineering a structural component, you'll likely encounter a critical decision point: should you use standard off-the-shelf aluminum profiles, or invest in a custom aluminum extrusion design tailored specifically to your application? Understanding this distinction is essential for making informed engineering and procurement decisions.
Custom aluminum extrusion design refers to the process of creating unique cross-sectional profiles by forcing heated aluminum alloy through a specially engineered die. Unlike standard aluminium extrusion profiles that come in predetermined shapes and dimensions, custom extrusions are purpose-built to match your exact specifications. This manufacturing approach transforms a solid aluminum billet into a continuous profile with virtually any shape you can imagine—solid, hollow, or semi-hollow geometries that standard sections simply cannot replicate.
So what separates a custom aluminum extrusion from its off-the-shelf counterpart? The answer lies in specificity. Standard sections—think common angles, channels, tubes, and rectangular bars—are mass-produced using existing dies and stocked in fixed dimensions. They're cost-effective and immediately available, making them ideal for general-purpose applications.
Custom aluminum extrusions, however, are designed from the ground up to address your unique requirements. Need an integrated mounting channel that eliminates separate brackets? Require a specific wall thickness distribution for optimal strength-to-weight performance? Want a profile that seamlessly mates with other components in your assembly? These are the scenarios where custom solutions deliver measurable advantages over modifying standard profiles.
Engineers and designers typically pursue custom extrusions when facing challenges such as:
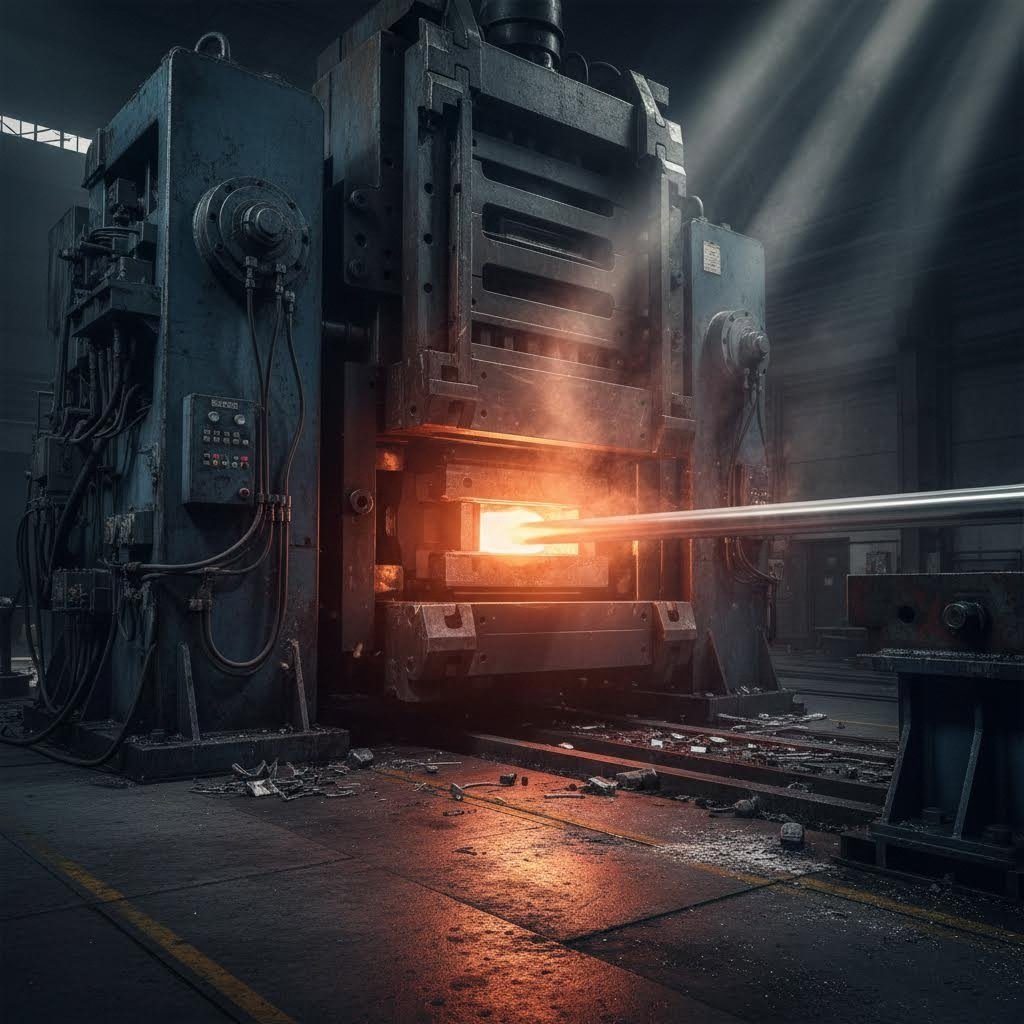
At the heart of every custom aluminum extrusion is the aluminum extrusion die—a precision-machined steel tool that defines your profile's exact cross-sectional shape. When heated aluminum is forced through this die under immense pressure, it emerges as a continuous length matching the die's opening precisely. This die-driven principle means that once you've invested in tooling, you can produce thousands of identical profiles with exceptional dimensional consistency.
The extrusion process enables the creation of remarkably intricate shapes. You can incorporate multiple voids in hollow profiles, vary wall thicknesses strategically, add functional features like screw bosses or snap-fit channels, and achieve tight tolerances on critical dimensions. This design freedom is simply unattainable through machining solid stock or welding multiple pieces together.
Custom extrusion design enables the consolidation of multiple fabricated parts into a single, integrated profile—reducing assembly complexity, eliminating potential failure points at joints, and often delivering significant weight and cost savings across your production lifecycle.
This consolidation advantage is particularly powerful in industries like automotive manufacturing, where BCW Engineering documented a case where a single aluminum extrusion replaced 10 individual welded steel parts, achieving over 20% weight reduction while eliminating multiple welding operations.
Whether you're an engineer evaluating manufacturing options, a product designer exploring form possibilities, or a procurement specialist assessing total cost of ownership, understanding custom aluminum extrusion fundamentals positions you to make smarter decisions. This resource will guide you through every phase of the design process—from initial feasibility assessment and alloy selection through tolerance specification and partner evaluation—giving you the knowledge to transform your concept into production-ready custom aluminum extrusions.
You've identified a need for aluminum profiles in your project—but should you reach for a catalog of standard shapes or invest in custom extrusions designed specifically for your application? This decision can significantly impact your project's budget, timeline, and ultimate performance. Making the right choice requires a systematic evaluation of several interconnected factors.
The economics of custom aluminum products center on one fundamental trade-off: upfront tooling investment versus long-term per-piece savings. Extrusion dies for profiles with 7 to 10-inch circle sizes typically cost between $1,000 and $2,000 for solid shapes and $1,200 to $4,000 for hollow profiles, with lead times of just 2 to 3 weeks. Compare this to production tooling for rolled steel shapes, which can exceed $30,000 with lead times stretching to 3 months.
When does this tooling investment make financial sense? Consider these volume thresholds:
Most extruders maintain minimum order quantities of 1,000 to 2,000 pounds per shape. However, the Aluminum Extruders Council notes that even short orders can be more economical than other processing methods when you factor in the elimination of welding, machining, and assembly operations that fabricated alternatives require.
The real cost analysis extends beyond simple per-piece pricing. Consider total cost of ownership: How much will you spend machining standard profiles to approximate your needed geometry? What's the labor cost for assembling multiple components that a single unique extrusion could replace? These hidden costs often tip the balance toward custom solutions at surprisingly modest volumes.
Sometimes the decision isn't about cost optimization at all—it's about capability. Certain functional requirements simply cannot be met by modifying standard extruded aluminum profiles, regardless of how much secondary processing you're willing to accept.
Custom extrusions provide clear advantages over alternatives in these specific scenarios:
The extrusion process offers a unique capability: placing metal exactly where needed for structural or aesthetic purposes. Unlike machining from solid stock—which removes material wastefully—or welding multiple pieces—which introduces potential failure points at joints—extrusion creates your geometry directly in a single, continuous operation.
Consider the comparison with alternative manufacturing methods. Machining aluminum extrusion shapes from solid billet generates significant material waste and requires substantial machine time for complex geometries. Welding multiple standard profiles together introduces heat-affected zones, potential distortion, and ongoing inspection requirements. Casting offers geometric freedom but typically at higher per-piece costs and with different mechanical properties than wrought extrusions.
The relatively low cost and quick availability of extrusion tooling also permits full-scale prototyping with minimal penalty for subsequent revision. This flexibility enables iterative design refinement that would be prohibitively expensive with other forming processes.
As you evaluate your project requirements, the strategic question becomes clear: Does a custom solution deliver enough value through performance improvement, assembly simplification, or lifecycle cost reduction to justify the tooling investment? When the answer is yes, understanding the material options available becomes your next critical decision—starting with selecting the right aluminum alloy for your application.
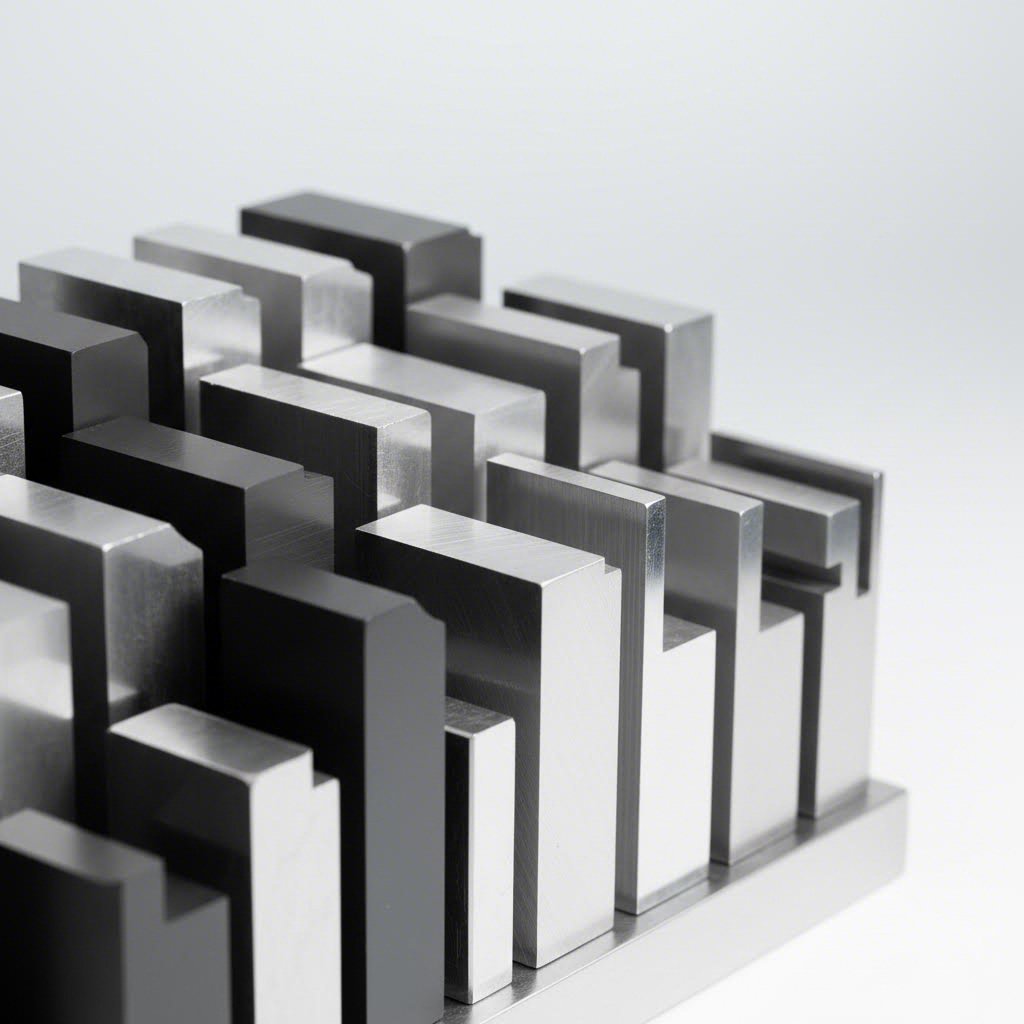
Your aluminum profile design might look perfect on screen—but will it actually extrude well? The answer depends heavily on which alloy you select. Alloy choice affects everything from the complexity of shapes you can achieve to the surface finish quality and post-processing options available. Making this decision early in your design process prevents costly revisions and ensures your custom aluminum extrusion profile performs exactly as intended.
While pure aluminum offers excellent corrosion resistance, it lacks the mechanical strength required for most industrial applications. This is why aluminum alloys—aluminum combined with elements like magnesium, silicon, copper, and zinc—dominate the extrusion industry. Among these, the 6xxx series has become the most popular aluminum extrusion alloy class because it delivers a balanced combination of strength, machinability, corrosion resistance, and weldability that other series cannot match.
When your design features intricate geometries, thin walls, or tight radii, aluminum 6063 should be your first consideration. Often called the "architectural alloy," 6063 offers superior extrudability compared to other aluminum profiles—meaning it flows more readily through complex die openings without tearing or cracking.
What makes 6063 so extrusion-friendly? Its finer grain structure enables smoother metal flow during the extrusion process, which translates directly into better surface finish quality. This characteristic makes 6063 the preferred choice for applications where the aluminium extruded profile will be visible—think window frames, door systems, furniture components, and display fixtures.
According to Tri-State Aluminum's specifications, 6063 is the most cost-efficient choice for architectural applications, offering good corrosion resistance along with solid finish, machinability, formability, and weldability capabilities. Its exceptional anodizing response produces uniform, attractive coatings that make it ideal for extrusion products requiring decorative finishes.
However, 6063's advantages come with a trade-off: lower mechanical strength. In the T6 temper, 6063 delivers an ultimate tensile strength of at least 28,000 psi and yield strength of 23,000 psi. For many applications—especially those prioritizing aesthetics over structural performance—this strength level is more than adequate.
When your aluminum extrusion profile must bear significant loads or resist impact, 6061 becomes the stronger contender. This precipitation-hardened alloy, developed in 1935, remains one of the most versatile options available, offering excellent workability combined with substantially higher mechanical properties than 6063.
How much stronger is 6061? In the T6 temper, it achieves ultimate tensile strength of at least 42,000 psi and yield strength of at least 35,000 psi—roughly 50% higher than 6063 in both categories. This strength advantage makes 6061 the standard choice for structural applications including scaffolding, truck and marine components, aerospace assemblies, and load-bearing architectural elements.
The trade-off? 6061 offers a poorer finishing response compared to 6063. If your aluminum profiles will be anodized and prominently displayed, the surface quality difference becomes noticeable. For internal structural components where appearance matters less than performance, this limitation is irrelevant.
Beyond these two dominant alloys, several other options serve specific needs within profile precision extrusions:
| Alloy Designation | Typical Applications | Extrudability Rating | Strength (T6 Tensile/Yield) | Finishing Compatibility |
|---|---|---|---|---|
| 6063 | Window frames, doors, architectural trim, lighting fixtures, electrical conduit | Excellent | 28,000 / 23,000 psi | Excellent—superior anodizing response |
| 6061 | Structural members, marine components, aerospace, truck trailers, scaffolding | Good | 42,000 / 35,000 psi | Fair—acceptable but not decorative-grade |
| 6005/6105 | Ladders, platforms, building construction, marine applications | Very Good | 38,000 / 35,000 psi | Good—suitable for visible applications |
| 6463 | Automotive trim, shower enclosures, picture framing, display advertising | Very Good | 30,000 / 25,000 psi | Excellent—bright, mirror-like finish |
| 6262 | Screw machine parts, automotive components, fittings requiring extensive machining | Good | 42,000 / 35,000 psi | Good—accepts all coating types |
Your alloy selection directly influences what's achievable in subsequent design phases. Choosing 6061 for a highly intricate profile with thin walls may result in production difficulties, while specifying 6063 for a structural beam could compromise safety. Extrudability also affects tolerances—alloys that flow more easily through dies typically achieve tighter dimensional control on complex features.
The key takeaway? Commit to your alloy selection early. Changing alloys mid-design often triggers cascading revisions to wall thicknesses, corner radii, and tolerance specifications. With your material decision locked in, you're ready to address the geometric constraints that will shape your final profile design.
You've selected your alloy and envisioned the perfect profile—but can it actually be manufactured? Every custom aluminum extrusion design must work within specific geometric limitations dictated by the physics of metal flow. Ignoring these constraints leads to production failures, excessive scrap rates, or profiles that simply cannot be made. Understanding these boundaries before you finalize your CAD drawings saves both time and money.
Think of the extrusion process as forcing thick toothpaste through a shaped opening. The aluminum must flow evenly through every section of the die at roughly the same rate. When your design creates significant flow imbalances—thick sections next to thin ones, deep narrow channels, or sharp corners that restrict metal movement—problems emerge. The profile may twist, bow, or develop surface defects that render it unusable.
Let's examine the specific constraints that govern successful extruded aluminum shapes and how to design within them while still achieving your functional objectives.
Wall thickness is perhaps the most critical parameter in extrusion shapes design. Get it wrong, and your profile either won't extrude at all or will emerge with unacceptable distortion. The fundamental principle? Profiles with uniform wall thickness are the easiest to produce, and maintaining consistency throughout your design dramatically improves success rates.
For small aluminum extrusions with circumscribing circle diameters (CCD) under a few inches, minimum wall thickness typically starts around 1mm. However, this minimum increases proportionally as your profile grows larger. Why? Larger profiles require more metal flow, and thin walls in big extrusions create severe flow imbalances that cause twisting and bowing during cooling.
The relationship between CCD and wall thickness follows these general guidelines:
Beyond absolute minimums, wall thickness variations within a single profile create significant challenges. When one section is three times thicker than another, the thicker area cools more slowly than the thin section. This uneven cooling creates internal stresses that cause the profile to warp or bow along its length. These structural differences become visible especially after anodizing, creating aesthetic defects even when dimensional accuracy seems acceptable.
What's the practical guidance? Keep wall thickness ratios below 3:1 whenever possible. If your design requires a 6mm structural web, try to keep adjacent walls at least 2mm thick. When greater variation is unavoidable, discuss the design with your extrusion partner before finalizing tooling—they may suggest transitional features or alloy adjustments that improve outcomes.
Imagine aluminum flowing through your die like water through pipes. What happens at sharp corners? The flow slows, pressure builds, and problems occur. This is exactly why it is not possible to achieve razor-sharp corners with the extrusion process—and why attempting them leads to production failures.
For external corners, a minimum radius of 0.5-1mm is typically sufficient to ensure proper metal flow. Internal corners require more generous radii because the aluminum must flow around the die steel that creates these features. Sharp internal corners cause the metal to tear or leave voids, resulting in structural weakness and surface defects.
To assist in the flow of aluminium through the die, sharp corners should be avoided. Blend radii should be used to ease the flow from one mass area to the next, as this helps prevent witness lines along the surface of the profile. These witness lines—visible streaks that follow the extrusion direction—indicate flow disruption and often cannot be eliminated through surface finishing.
Beyond corners, the tongue ratio presents another critical constraint for semi-hollow profiles. A "tongue" refers to any section of the die that extends into the profile opening—think of the steel that creates a C-channel's interior. The tongue ratio compares the depth of this extension to the gap width at its base. High tongue ratios (width of a fin vs. height of a fin) should be avoided. Deep, narrow tongues create fragile die features that break under extrusion pressure, shortening die life and increasing production costs.
When your design requires channel-like features, consider these approaches:
Even experienced designers occasionally overlook extrusion constraints when creating aluminum extruded shapes. Learning from common mistakes helps you avoid costly die revisions and production delays. Here are the issues extrusion partners see most frequently:
How do you work within these constraints while achieving your functional requirements? The key lies in early collaboration with your extrusion partner. 3D printed prototype samples are an excellent place to begin—they're the most cost-effective way of testing whether your design will work, giving you the chance to make alterations before paying for die and setup charges.
Consider using grooves, webs, and ribs strategically. These features can add stiffness without excessive material, maintain wall thickness uniformity, and support otherwise vulnerable thin sections. Good aluminum extrusion design practices include balanced walls, generous tapers, symmetry where possible, and minimizing the perimeter-to-cross-section ratio.
When you aluminum extrude a profile, remember that complexity directly affects both die cost and die life. Simpler profiles cost less to tool and produce more consistent results over longer production runs. Before adding intricate features, ask yourself: does this complexity serve a genuine functional purpose, or can the same objective be achieved more simply?
With your geometric constraints understood, the next step is translating your design concept through the complete workflow—from initial sketch to production-ready specifications that your manufacturing partner can execute with confidence.
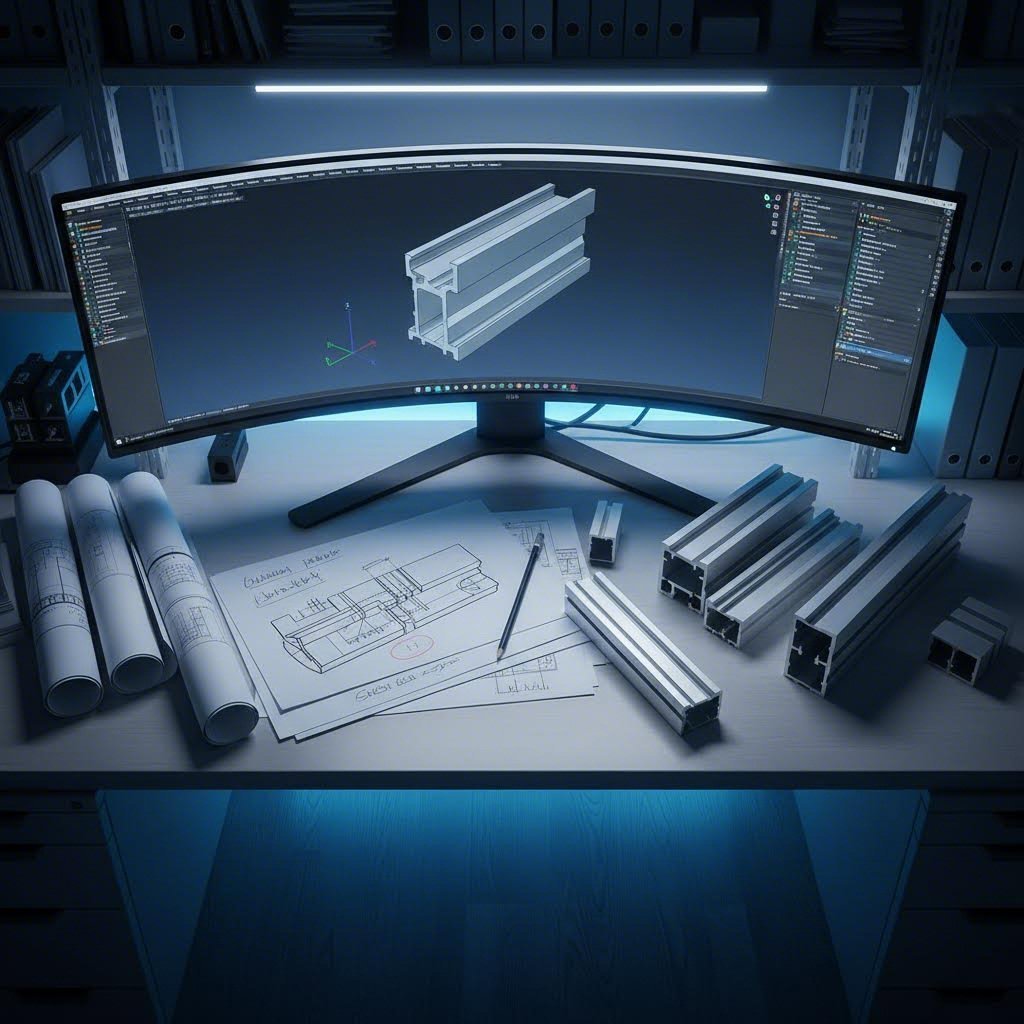
You've got a concept in mind and understand the geometric constraints—now what? Turning your custom extrusion idea into a production-ready profile isn't a single leap but rather a series of deliberate steps. Each phase builds on the previous one, with opportunities to refine your design and catch potential issues before they become expensive problems. Understanding this workflow helps you collaborate effectively with aluminum extrusion companies and ensures your project stays on track from first sketch to final delivery.
The custom profile extrusion process is inherently iterative. Rarely does a design move from initial concept to production without some adjustment along the way. This is actually a strength of the extrusion approach—relatively low tooling costs and fast die turnaround times mean you can refine your design based on real-world feedback without prohibitive penalties. The key is knowing what happens at each stage and what you need to deliver to keep momentum going.
Every custom extruded aluminum profile begins as an idea—sometimes a rough sketch on paper, sometimes a mental image of how a component should function. Your first task is translating that concept into something tangible enough to evaluate.
Start with basic sketches that capture the essential cross-sectional geometry. Don't worry about precise dimensions yet; focus on the functional elements your profile must incorporate. Where do you need mounting features? What surfaces must mate with other components? Are there aesthetic requirements that dictate certain curves or proportions? These early sketches become the foundation for all subsequent development.
According to Star Extruded Shapes, the design phase typically employs specialized software such as AutoCAD or SolidWorks to create digital models. These CAD tools enable faster and more precise quoting, streamlined prototyping, and reduced time to market. However, before diving into detailed CAD work, you'll want preliminary feedback on whether your concept is feasible.
This is where early supplier engagement becomes critical. A profile extrusion company with design experience can review your initial sketches and identify potential issues immediately. They'll flag concerns like problematic tongue ratios, wall thickness variations that may cause distortion, or features that would require exceptionally expensive tooling. Getting this input before investing hours in detailed CAD development saves significant time and frustration.
Once you've confirmed basic feasibility, detailed CAD development begins. Your technical drawings should clearly communicate every aspect of the cross-sectional geometry. This includes precise dimensions for all features, specified tolerances on critical dimensions, corner radii and blend requirements, and surface finish callouts where applicable.
A common mistake during CAD development is adding excessive detail that complicates interpretation. Alumaster Group recommends using drawings that are easy to read—avoid cluttering drawings with unnecessary dimensions and keep critical measurements clearly visible. Your extrusion partner needs to understand your intent, and cleaner drawings communicate more effectively.
With your technical drawings complete, the focus shifts to aluminum extrusion dies—the precision-machined tools that will shape your profile. Die development is fundamentally a collaborative process between your design team and the extrusion manufacturer's tooling engineers.
The die designer reviews your specifications and translates them into a tool that will produce consistent, accurate profiles. This isn't simply copying your drawing into steel; it requires accounting for metal flow characteristics, thermal expansion during extrusion, and the specific capabilities of the press equipment that will be used. Die designers often suggest minor modifications that improve extrudability without compromising your functional requirements.
During this phase, you'll finalize tolerance specifications for different features. Not every dimension needs the tightest possible tolerance—specifying precision where it isn't necessary increases costs and scrap rates. Work with your partner to identify which dimensions are truly critical for function or assembly and which can accept standard tolerances.
Prototype evaluation typically occurs before committing to full production. Many aluminum extrusion companies produce initial runs from the new die, allowing you to physically inspect profiles and verify they meet your requirements. This is your opportunity to test fit with mating components, evaluate surface finish quality, and confirm that the design performs as intended. If adjustments are needed, modifying the die at this stage is far less costly than discovering problems during full production.
The complete journey from concept to production-ready custom extrusion follows this sequential progression:
Throughout this workflow, communication remains essential. Document your functional requirements clearly—don't assume your extrusion partner understands how the profile will be used. Explain what the critical dimensions control, how the profile mates with other components, and what failure would look like in your application. This context helps aluminum extrusion companies make informed suggestions and catch potential issues you might overlook.
The iterative nature of custom extrusion design means you should expect some back-and-forth. A die modification might enable tighter tolerances on a critical feature. A slight geometry change might dramatically reduce tooling cost. Treating this as a collaborative engineering exercise—rather than simply handing off a fixed specification—typically produces better outcomes for everyone involved.
With your design workflow complete and production-ready specifications in hand, the next consideration becomes understanding exactly what dimensional accuracy you can expect—and how to specify tolerances that balance performance requirements against practical manufacturing realities.
How precise can your aluminum extruded profile actually be? This question sits at the heart of every successful custom extrusion project. Specify tolerances too loosely, and your parts won't assemble correctly. Demand tolerances too tight, and you'll drive up costs through increased scrap rates and potential secondary machining. Finding the right balance requires understanding what the extrusion process can realistically deliver—and where to focus your precision requirements.
Industry tolerance standards provide the framework for this conversation. According to the Aluminum Extruders Council, tolerance tables setting forth both industry standard and "precision" tolerances are available in Aluminum Standards & Data published by The Aluminum Association. Many extruders can achieve tighter tolerances than indicated in these tables when required, making tolerance requirements an important discussion topic between designer and extruder.
Not all dimensions on your extruded profiles need the same level of accuracy. The extrusion industry recognizes this reality through tiered tolerance classifications—typically "standard" and "precision" levels that reflect different manufacturing effort and cost.
Standard tolerances represent what the extrusion process naturally achieves without special intervention. These tolerances accommodate normal variations in metal flow, temperature, and cooling. For many applications, standard tolerances work perfectly well, especially for non-critical dimensions that don't affect assembly or function.
Precision tolerances require additional process control, more careful die design, and often slower production speeds. While achievable, they come at a cost premium. The smart approach? Specify precision tolerances only on dimensions that truly require them—mating surfaces, critical clearances, and functional features—while accepting standard tolerances elsewhere.
Different alloy groups also affect achievable tolerances. As MASTAR Metal documents, tolerance standards vary between alloy groupings compliant with EN755 and EN12020 standards. Group 1 alloys (including common extrusion alloys like 6063, 6061, and 6005) generally achieve tighter tolerances than Group 2 alloys, which include higher-strength 2xxx and 7xxx series materials.
| Feature Type | Standard Tolerance | Precision Tolerance | Notes |
|---|---|---|---|
| Wall Thickness (up to 3mm) | ±0.25 to ±0.30mm | ±0.15 to ±0.20mm | Varies with profile circumscribing circle diameter |
| Wall Thickness (3-6mm) | ±0.40 to ±0.60mm | ±0.25 to ±0.40mm | Thicker walls allow tighter percentage control |
| Linear Dimensions (10-50mm) | ±0.30 to ±0.50mm | ±0.20 to ±0.35mm | Depends on alloy group and profile complexity |
| Linear Dimensions (50-120mm) | ±0.60 to ±1.00mm | ±0.40 to ±0.70mm | Larger dimensions have proportionally larger tolerances |
| Angular Dimensions | ±1° to ±2° | ±0.5° to ±1° | Critical for mating surfaces and assemblies |
| Straightness (per meter) | 1.0 to 1.5mm/m | 0.5 to 0.8mm/m | Affected by profile symmetry and cooling uniformity |
| Twist (per meter) | 1° to 2°/m | 0.5° to 1°/m | Asymmetrical profiles more prone to twist |
When reviewing your extrusion profiles for tolerance specification, certain dimension types consistently demand closer attention than others. These critical features typically fall into specific categories that affect assembly, function, or aesthetics.
Mating surfaces—where your profile contacts other components—usually require tighter control. If you're designing a profile that slides into a channel or receives a snap-fit component, the dimensions controlling that interface need precision specification. A stock aluminum extrusion selected from a catalog comes with fixed tolerances; your custom design gives you the flexibility to tighten control exactly where needed.
Straightness, twist, and flatness tolerances become particularly important for longer profile lengths. Even a small deviation per meter compounds over a 6-meter extrusion length. For applications like linear motion systems, curtain wall framing, or precision equipment frames, these geometric tolerances often matter more than cross-sectional dimensions.
When stock aluminum extrusion profiles can't meet your tolerance requirements through the extrusion process alone, post-extrusion machining provides a solution. CNC machining operations can achieve tolerances of ±0.05mm or better on specific features—far tighter than extrusion alone delivers. This approach lets you accept standard extrusion tolerances on the overall profile while achieving precision-machined accuracy on critical dimensions like mounting holes, reference surfaces, or mating interfaces.
Profile complexity also influences achievable accuracy. Simpler, more symmetrical shapes hold tolerances more easily than complex asymmetrical profiles with varying wall thicknesses. When your design pushes geometric boundaries, discuss realistic tolerance expectations with your extrusion partner before finalizing specifications—they can advise which dimensions can be held tightly and which may require post-processing.
The practical takeaway? Treat tolerance specification as a strategic exercise. Identify which dimensions truly affect your application's performance, specify those precisely, and allow manufacturing flexibility elsewhere. This balanced approach controls costs while ensuring your extrusion profiles perform exactly as intended—setting the stage for selecting the surface finishing options that will complete your design.
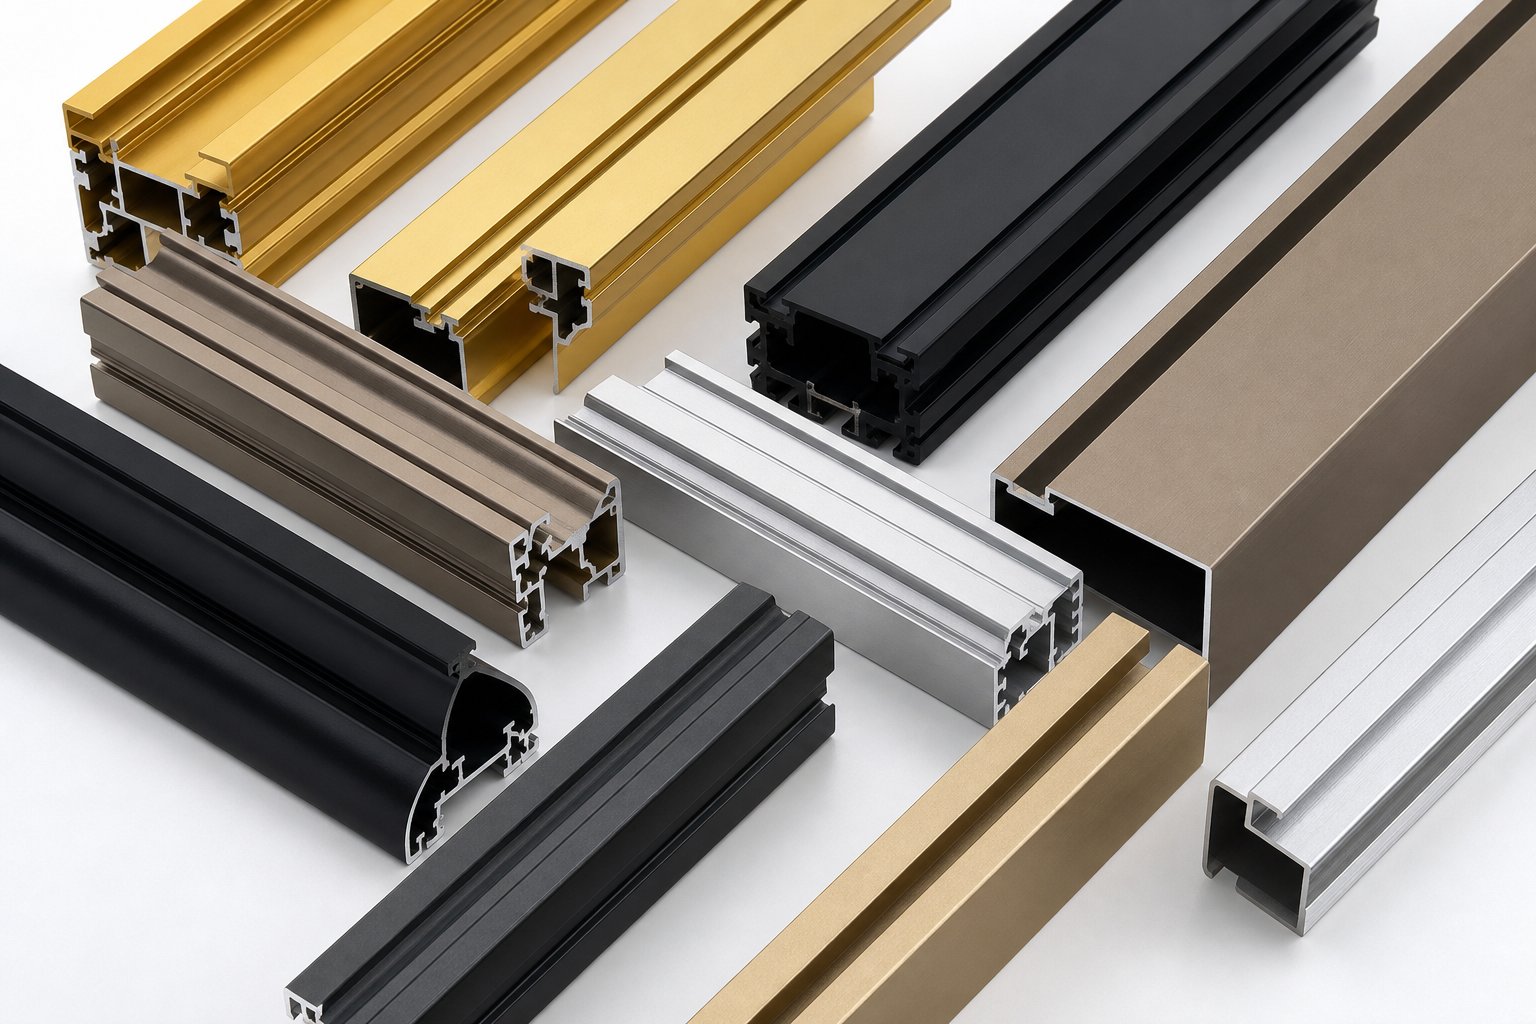
Your aluminium extrusion profile might meet every dimensional specification perfectly—but how will it look and perform after years of real-world exposure? Surface finishing transforms raw extruded aluminum from a functional component into a durable, aesthetically refined product. However, finish selection isn't purely cosmetic; your choice directly affects dimensional tolerances, assembly fits, and long-term performance in your specific operating environment.
The natural oxide film that forms on aluminum provides baseline corrosion resistance, but demanding applications require more. Whether you need vibrant colors for consumer products, enhanced wear resistance for high-traffic installations, or superior protection in marine environments, understanding your finishing options helps you make decisions that complement—rather than compromise—your custom design.
Anodizing remains the most popular finishing method for aluminum extrusion trim and architectural applications. This electrochemical process doesn't apply a coating—it actually transforms the aluminum surface into a hard, durable aluminum oxide layer that becomes integral to the metal itself. Because the finish grows from the base material, anodized coatings cannot peel or flake like applied paints.
The thickness of your anodic coating directly determines its durability. Industry standards recognize two primary classifications:
Color options with anodizing extend beyond basic clear and bronze. Dyed anodizing produces vibrant hues—blacks, blues, reds, and golds—while integral color anodizing creates earth-tone bronzes through the process itself. For bespoke aluminium extrusion projects requiring specific brand colors, however, anodizing offers more limited flexibility than organic coatings.
From a design perspective, anodizing adds minimal dimensional buildup—typically 12-25 microns—meaning you'll only need to add approximately 0.03mm to clearance calculations for tight-fitting surfaces. This makes anodizing ideal when maintaining precise tolerances matters. Additionally, anodized surfaces exhibit superior abrasion resistance compared to painted finishes, making them the preferred choice for extruded aluminum trim in high-traffic areas like door frames and handrails.
When your application requires unlimited color options, maximum UV resistance, or protection in chemically aggressive environments, organic coatings—powder and liquid—become essential alternatives.
Powder coating applies dry plastic powder electrostatically, then cures it in an oven to create a durable finish. The process produces virtually no volatile organic compounds (VOCs), making it environmentally preferable. However, powder coating adds significant thickness—50-150 microns—requiring you to increase assembly clearances by at least 0.2mm. For threaded connections in aluminium extrusion trim applications, plan to tap holes 0.1-0.2mm larger if coating internal threads.
PVDF coatings (polyvinylidene fluoride) represent the premium choice for architectural applications demanding exceptional weatherability. According to SAF Southern Aluminum Finishing, PVDF coatings have dominated the curtainwall and metal roofing markets because of their weather resistance and wide color availability. The AAMA 2605 specification—requiring actual ten-year Florida exposure testing—ensures these coatings perform over decades of outdoor service.
Micro-arc oxidation (MAO), also called plasma electrolytic oxidation, creates ceramic-like surface layers significantly harder than conventional anodizing. This specialty treatment suits applications requiring extreme wear resistance or thermal barrier properties—though at higher cost than standard finishes.
Your finish choice influences decisions made much earlier in the design process. Consider these interconnections:
The finish you select also affects long-term maintenance expectations. When anodized surfaces appear to have failed, cleaning often results in a renewed appearance—a small amount of the anodic coating can actually be removed through mild abrasive cleaning, leaving behind a refreshed finish. Once organic coatings fail, recoating or replacement becomes the only option.
With surface finishing requirements defined, you've addressed the major technical parameters of your custom extrusion design. The next consideration—project budgeting—brings all these decisions together into a comprehensive cost picture that determines your project's economic viability.
How much will your custom aluminium extrusion actually cost? This question drives most project planning decisions—yet the answer isn't a single number. Extrusion aluminum costs emerge from multiple interconnected factors, each influenced by your design choices. Understanding these cost drivers empowers you to make informed trade-offs between performance requirements and budget constraints, ultimately delivering better value across your production lifecycle.
The total cost of custom aluminum extrusion parts breaks down into five primary categories: die tooling, raw material, extrusion processing, secondary operations, and logistics. According to Ya Ji Aluminum's cost analysis, calculating your total expense follows this fundamental formula: Total Cost = Die Cost + Raw Material + Production + Finishing + Shipping. Each component interacts with the others—complex profiles increase tooling and machining costs, while bulk ordering can reduce both finishing and logistics expenses.
Your first major expense comes before a single foot of profile is extruded. Aluminum extrusion tooling represents a one-time investment that must be amortized across your production volume. Understanding what drives die costs helps you make design decisions that balance capability against upfront spending.
Die and tooling costs for custom aluminum extrusions profiles typically range from $400 to $2,000, depending on several factors:
Here's a perspective that changes how you view tooling costs: a $2,000 custom die used over 10,000 parts adds only $0.20 to each unit. At that volume, your die investment becomes nearly invisible in per-piece pricing. The challenge comes with lower volumes—a $1,500 die spread across only 500 pieces adds $3.00 per unit, potentially doubling your part cost.
Always clarify die ownership terms with your supplier. Some manufacturers retain tooling ownership, charging maintenance fees or limiting your ability to move production. Others transfer die rights after project completion, giving you flexibility to reorder from the same or alternative sources. This seemingly minor contractual detail can significantly affect long-term economics.
Die life also factors into your cost calculations. Simpler dies with balanced metal flow typically produce 50,000 or more feet of profile before requiring refurbishment or replacement. Complex dies with thin tongues or extreme asymmetry may last only 10,000-20,000 feet. If your application demands extended production runs, designing for die longevity saves both money and lead time on replacement tooling.
Once tooling is established, your ongoing aluminum extrusion cost depends on factors that accumulate with every piece produced. Understanding these drivers reveals opportunities for optimization that many designers overlook.
Raw material costs represent the single largest contributor to per-piece pricing. Aluminum prices fluctuate based on global market demand, energy costs, and geopolitical factors. The London Metal Exchange (LME) sets the baseline for most aluminum pricing agreements, with surcharges added based on region or alloy type.
Your alloy selection directly impacts material expense. Common 6063 alloy costs less than higher-strength 6061, which in turn costs less than specialty alloys like 6262 (free-machining) or high-strength 7xxx series materials. Selecting the minimum alloy grade that meets your performance requirements—without over-engineering—controls this significant cost element.
Profile weight matters enormously since extrusions are typically priced per pound. Every ounce of aluminum in your cross-section multiplies across total production volume. A 10% weight reduction achieved through optimized wall thicknesses translates directly to approximately 10% material savings. This is where early design optimization pays dividends throughout production.
Secondary operations can add substantially to finished part costs:
Tolerance specifications influence scrap rates more than many designers realize. Specifying precision tolerances across your entire profile when only certain dimensions require them forces the manufacturer to reject parts that would otherwise be acceptable. Higher rejection rates mean higher effective costs passed along in pricing.
Minimum order quantities typically range from 1,000 to 2,000 pounds per shape. However, the economics change dramatically above these thresholds. Bulk orders allow suppliers to optimize production scheduling, reduce setup frequency, and purchase materials more efficiently—savings they can share through lower per-unit pricing.
The most powerful cost control happens during the design phase, before tooling is cut. These modifications can significantly reduce your total project expense without sacrificing functionality:
Early collaboration with your extrusion partner during design reveals cost optimization opportunities you might otherwise miss. Experienced manufacturers can suggest modifications that maintain your functional requirements while significantly reducing tooling investment and per-piece pricing. This collaborative approach—treating cost optimization as a shared engineering challenge—typically delivers better outcomes than simply requesting quotes on fixed specifications.
With a clear understanding of cost factors, the final critical decision becomes selecting the right manufacturing partner—one with the capabilities, capacity, and technical expertise to deliver your custom extrusion vision economically and reliably.
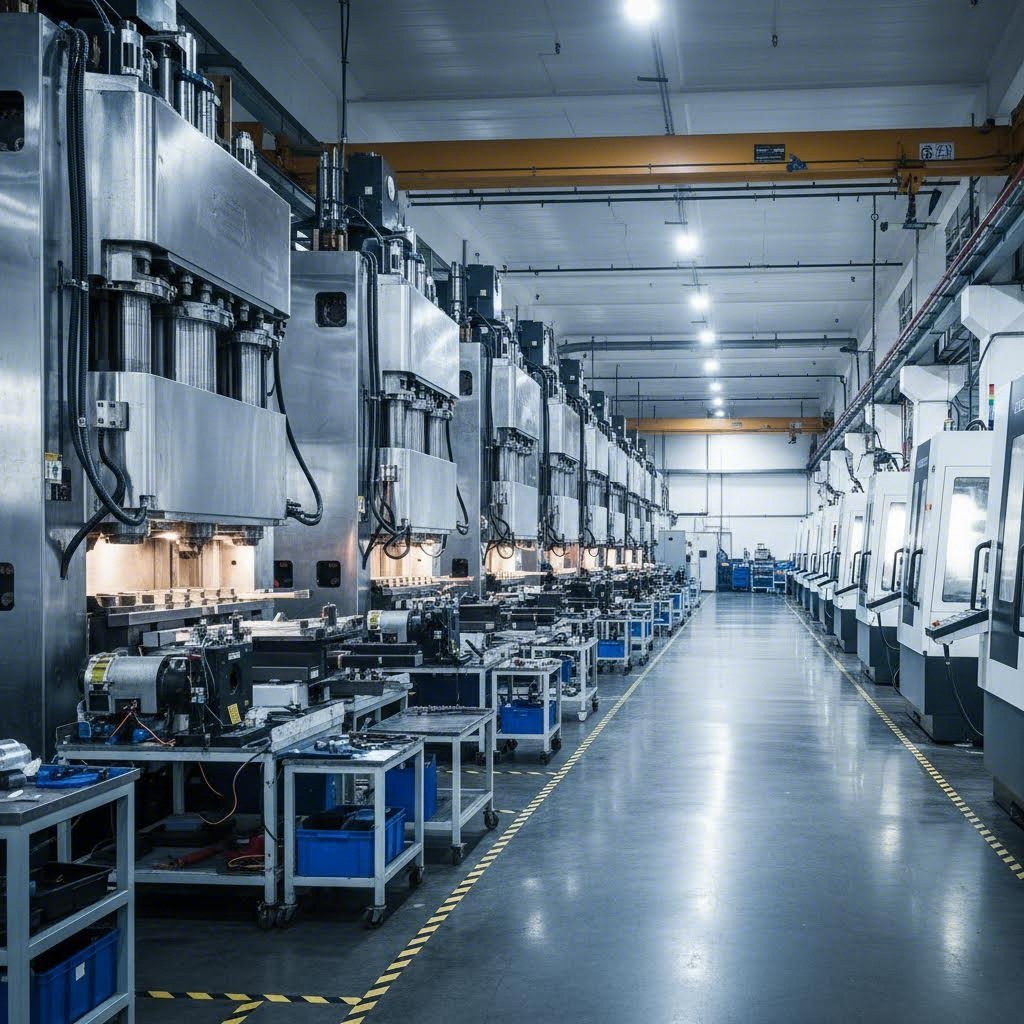
You've invested considerable effort refining your custom extruded profiles—optimizing geometry, selecting the right alloy, specifying tolerances, and planning surface finishes. Now comes a decision that determines whether all that work translates into successful production: choosing the right aluminum extrusion suppliers to bring your design to life. This choice impacts everything from lead times and quality consistency to long-term cost efficiency and technical support when challenges arise.
Not all custom aluminum extruders offer the same capabilities. Some specialize in high-volume commodity profiles; others focus on precision aerospace components. Some handle only extrusion, requiring you to coordinate separately with machining shops and finishing houses. Others provide comprehensive services under one roof, simplifying your supply chain and ensuring accountability throughout production. Understanding what to look for—and what questions to ask—helps you identify partners equipped to deliver on your specific project requirements.
When evaluating potential aluminum extrusion services providers, a systematic assessment across key capability areas reveals whether a manufacturer can genuinely support your project or will struggle with your requirements. Start with the fundamentals and work toward value-added capabilities.
Press Capacity and Equipment Range
The extrusion press defines what profiles a supplier can physically produce. According to industry capability assessments, press capacities serve different profile types:
A supplier with multiple press capacities—like Shengxin Aluminium's 35 extrusion presses ranging from 600T to 5500T—can handle a wider range of projects and maintain flexibility when your production volumes or profile sizes change. This breadth matters especially if your product line includes both small aluminum extrusions for electronics enclosures and larger structural components.
In-House Die Design and Maintenance
Many suppliers outsource die manufacturing to third parties, leading to longer lead times and slower problem resolution. When a die fails or produces inaccurate dimensions, delays ripple across your entire project. Top aluminum suppliers for custom products maintain in-house die workshops where they can modify or repair dies quickly, ensuring production continuity and consistent quality.
Ask potential partners directly: Do you design dies in-house? What's your typical die turnaround time? How quickly can you modify a die if initial samples require adjustment? These questions separate capable custom extrusion aluminum manufacturers from those who simply broker work to external toolmakers.
Essential Partner Capabilities to Evaluate
When comparing aluminum extrusion suppliers, assess each against these critical capability areas:
Why does integrated capability matter so much? Consider the alternative: coordinating separately with an extruder, a machining shop, and a finishing house. Each handoff introduces transportation costs, potential damage, schedule delays, and finger-pointing when quality issues arise. When problems occur—and they inevitably do—determining responsibility becomes complicated.
A supplier with integrated CNC machining and surface finishing can deliver finished or semi-finished products directly to your assembly line. According to capability evaluation research, integration reduces transportation between subcontractors, prevents damage, and shortens lead time. An extrusion requiring anodizing and drilling can be processed completely within a single facility, ensuring batch consistency in both dimension and color.
Certified aluminum suppliers for custom products typically offer comprehensive secondary processing that transforms raw extrusions into assembly-ready components:
Shengxin Aluminium exemplifies this integrated approach with state-of-the-art CNC machining centers capable of precise cutting, drilling, and bending to exact specifications, combined with an extensive array of surface treatments. Their processing capabilities include anodizing in custom colors like Champagne and Rose Gold, powder coating, PVDF for architectural applications, and micro-arc oxidation for superior durability—all under one roof with technical support from die development through mass production.
Communication and Technical Transparency
Strong technical communication differentiates professional custom aluminum extruders from traders simply brokering work. A capable extrusion factory will provide DfM feedback on your drawings, offer feasibility and cost optimization suggestions, and share inspection photos, reports, and videos before shipment. Procurement managers value suppliers who proactively prevent issues instead of reacting after defects occur.
During your evaluation process, pay attention to responsiveness. How quickly do potential partners answer technical questions? Do they ask clarifying questions that demonstrate understanding of your application? Are they transparent about capabilities and limitations? These interactions during the quoting phase predict what working with them during production will feel like.
Lead Time and Production Planning
Lead time reliability is often the most practical indicator of capability. Typical benchmarks for custom extrusion projects include:
Ask how suppliers manage production scheduling and capacity allocation during peak seasons. Factories with ERP-based production systems generally deliver more consistently. Understanding their planning approach helps you anticipate whether your orders will ship on schedule or face unexpected delays.
With over 30 years of industry experience, partners like Shengxin Aluminium provide the technical depth and manufacturing breadth that complex custom extrusion aluminum projects demand. Whether you need custom 6063 aluminum tubes, architectural window frames, or complex industrial profiles, evaluating potential partners against these capability criteria ensures you select a manufacturer equipped to deliver your vision—from initial die development through finished, ready-to-assemble components.
You've now walked through every critical phase of custom aluminum extrusion design—from understanding when custom solutions make strategic sense, through alloy selection and geometric constraints, to tolerance specifications, finishing options, cost optimization, and partner evaluation. What separates successful projects from frustrating ones isn't necessarily technical brilliance; it's applying these principles systematically from day one.
The most important insight to carry forward? Custom aluminum profile extrusion succeeds when treated as a collaborative engineering exercise rather than a transactional purchase. Your manufacturing partner brings process expertise; you bring application knowledge. When both perspectives inform design decisions early, the result is aluminum extrusions that perform exactly as intended—at costs that make business sense.
Before submitting your first inquiry to potential custom profile extrusions suppliers, work through this preparation checklist. Completing these items positions you for productive conversations and faster project progression:
Ready to move from planning to action? The path forward involves engaging potential manufacturing partners with your prepared specifications and initiating the collaborative design refinement process. Expect questions—good partners will probe your requirements to identify optimization opportunities you might have missed.
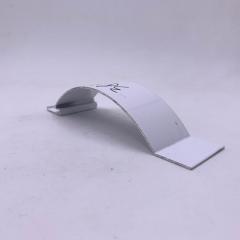
Consider whether your project might benefit from curved aluminum extrusion capabilities or specialty forming for flextrude aluminum shapes. Not all manufacturers offer these advanced capabilities, so clarify requirements upfront if your application demands more than straight-line profiles.
For designers seeking comprehensive support across the entire production journey, working with experienced manufacturers makes a measurable difference. Shengxin Aluminium, with over 30 years of industry experience, provides end-to-end technical support from die development through mass production. Their integrated capabilities—35 extrusion presses, CNC machining centers, and comprehensive surface treatment options—mean your project stays under one roof from concept to finished components.
Custom aluminum extrusion design rewards those who invest in understanding the process. You've now built that foundation. Whether your next project involves architectural facades, industrial equipment frames, or precision components, you're equipped to make informed decisions that balance performance, aesthetics, and economics. The profiles you envision today can become production reality—start the conversation with a capable partner and bring your design to life.
Custom aluminum extrusion creates unique cross-sectional profiles by forcing heated aluminum through specially designed dies, producing shapes tailored to your exact specifications. Unlike standard off-the-shelf profiles that come in predetermined shapes, custom extrusions incorporate integrated features like mounting channels, optimized wall thickness distributions, and precise mating surfaces. This process enables consolidation of multiple parts into single extrusions, reducing assembly complexity and eliminating potential failure points at joints.
Custom aluminum extrusion die tooling typically ranges from $400 to $2,000, depending on profile complexity, circumscribing circle diameter, and tolerance requirements. Solid shapes with 7-10 inch circle sizes cost between $1,000-$2,000, while hollow profiles range from $1,200-$4,000. The investment becomes economical at higher volumes—a $2,000 die spread across 10,000 parts adds only $0.20 per unit. Partners like Shengxin Aluminium offer in-house die design capabilities with typical lead times of 2-3 weeks.
The best alloy depends on your application requirements. Aluminum 6063 offers superior extrudability for complex profiles and excellent anodizing response, making it ideal for architectural applications with intricate geometries. Aluminum 6061 provides approximately 50% higher strength than 6063, suitable for structural applications like scaffolding and aerospace components. For projects requiring both moderate strength and good surface finish, 6005/6105 alloys bridge the gap between these options.
Minimum wall thickness depends on your profile's circumscribing circle diameter (CCD). For profiles under 3 inches CCD, minimum walls of 1-1.5mm are typically achievable. Profiles 3-6 inches CCD require 1.5-2mm minimums, while those 6-10 inches CCD need 2-3mm. Large extrusions over 10 inches CCD require walls of 3mm or more for stability. Additionally, wall thickness ratios should stay below 3:1 throughout the profile to prevent cooling-induced distortion.
Evaluate partners across press capacity range, in-house die design capabilities, secondary processing options, and surface treatment variety. Look for manufacturers with multiple press sizes (like Shengxin Aluminium's 35 presses ranging 600T-5500T) for project flexibility. Integrated suppliers offering CNC machining and finishing under one roof simplify your supply chain and ensure accountability. Verify ISO 9001 certification, assess technical communication quality during quoting, and confirm typical lead times of 4-6 weeks for standard projects.



 Onlineservice
 0086 136 3563 2360
 sales@sxalu.com
 +86 136 3563 2360
 Deutsch
 English
 français
 русский
 español
 português
 العربية
 ไทย
ไทย Việt
Việt Українська